

There’s a certain romance to a crowded gym: the clink of plates, the choreography of people moving through sets, the sense that you’ve entered a place where effort is normal. There’s also the less romantic version — waiting for a rack, hunting for a matching dumbbell, doing your “Plan B” workout because your “Plan A” is occupied by someone filming a set from three angles.
A kettlebell is the opposite of that. One tool. One handle. One lopsided hunk of iron that looks almost too simple to matter. And then you use it correctly for ten minutes and realize why it has survived every trend cycle in fitness: it’s not a gadget. It’s a small gym disguised as a single object.
A kettlebell can train your hinge (the engine behind deadlifts and jumps), your squat, your lunge, your press, your pull, your carries, your conditioning, your posture and the kind of core strength that feels less like “abs” and more like being hard to knock over. It also punishes sloppiness. When the weight hangs below your hand, it forces honesty from your wrists, your shoulders, your hips, your timing.
The key is choosing moves that cover the whole map — strength, power, pulling, pushing, single-leg work, and the unglamorous but essential category known as “holding yourself together.” The nine moves below do exactly that. You don’t need all of them in one session. You do need them in your toolkit.
A quick note before we start: If you’ve got shoulder pain, back pain, or you’re returning after injury, get eyes on your technique. Kettlebells are wonderfully efficient, but efficiency cuts both ways. Done well, they’re a Swiss Army knife. Done carelessly, they’re a fast track to “Why does my elbow hate me?”
How heavy should your kettlebell be?
A simple rule: the right bell is the one you can move with control. Not just once — repeatedly.
- For most beginners, a good starting point is often 8–12 kg (18–26 lb) for many movements, and 12–16 kg (26–35 lb) for deadlifts and goblet squats, depending on size and strength.
- If you already lift, you may go heavier quickly for lower-body moves — but keep the swing and overhead work humble at first.
If you can’t keep your wrist straight, your ribs down, and your breathing steady, the bell is choosing the weight for you.
1) Kettlebell Deadlift
What it replaces: barbell deadlift pattern, hip hinge training, “how to lift things safely”
Why it matters: Everything powerful starts with a hinge you can control.
The kettlebell deadlift is not flashy, which is exactly why it’s useful. It teaches you to load your hips and hamstrings instead of turning every lower-body movement into a squat. It’s the movement that makes swings safer and stronger later.
How to do it
- Put the bell on the floor between your feet.
- Stand with feet about hip-width.
- Hinge back: push your hips behind you, soften your knees, keep your spine long.
- Grab the handle, “pack” your shoulders (down and back), and stand up by driving the floor away.
- Lower with control, keeping the bell close.
Cues that work
- “Close a car door with your butt.”
- “Chest proud, ribs quiet.”
- “Armpits tight.”
Common mistakes
- Squatting too much (knees travel forward, hips don’t go back)
- Rounding the back to reach the bell
- Letting shoulders slump forward
How to progress
- Pause one inch off the floor for 1–2 seconds each rep.
- Move to a suitcase deadlift (bell outside one foot) to challenge anti-rotation.
2) Two-Hand Kettlebell Swing
What it replaces: power work, conditioning, posterior-chain training
Why it matters: It’s cardio that also makes you stronger — if done like a hinge, not a squat.
A good swing is not a front raise. It’s not a squat with momentum. It’s a hip snap — a clean, athletic hinge that sends the bell floating.
Done properly, swings train explosive hip extension, grip endurance, and the kind of conditioning that feels bluntly functional. They also teach timing: force, then relaxation; effort, then control.
How to do it
- Start with the bell a foot in front of you.
- Hinge, grab the handle, and “hike” the bell back between your legs like a football snap.
- Snap your hips forward and stand tall — glutes tight, ribs down — letting the bell rise to about chest height.
- Let it fall, hinge again, and repeat.
Cues that work
- “Jump without leaving the ground.”
- “The bell floats; you don’t lift it.”
- “Wait for it — then hinge.”
Common mistakes
- Squatting the swing (knees bend too much, hips don’t hinge back)
- Pulling with arms
- Hyperextending at the top (leaning back, ribs flaring)
Programming
- Start with 10 sets of 10 swings, resting as needed.
- Or do EMOM (every minute on the minute): 10–15 swings for 10 minutes.
3) Goblet Squat
What it replaces: squat pattern, leg strength, core bracing
Why it matters: It teaches depth with posture and gives your torso a job.
The goblet squat is what happens when a squat stops being a leg exercise and becomes a whole-body exercise. Holding the bell in front forces you to brace. It also often cleans up form: people who fold forward in a back squat suddenly find themselves more upright.
How to do it
- Hold the bell by the horns (or by the handle) at chest height.
- Take a comfortable stance, toes slightly out.
- Sit down between your heels, keeping your torso tall.
- Stand up, exhaling as you drive.
Cues that work
- “Elbows inside knees.”
- “Ribs down, zipper up.”
- “Make the floor smaller.”
Common mistakes
- Collapsing at the bottom (losing tension)
- Letting knees cave inward
- Turning it into a partial squat because the weight feels heavy
Programming
- Strength: 4 sets of 6–10
- Volume: 3 sets of 12–15 with a slower tempo
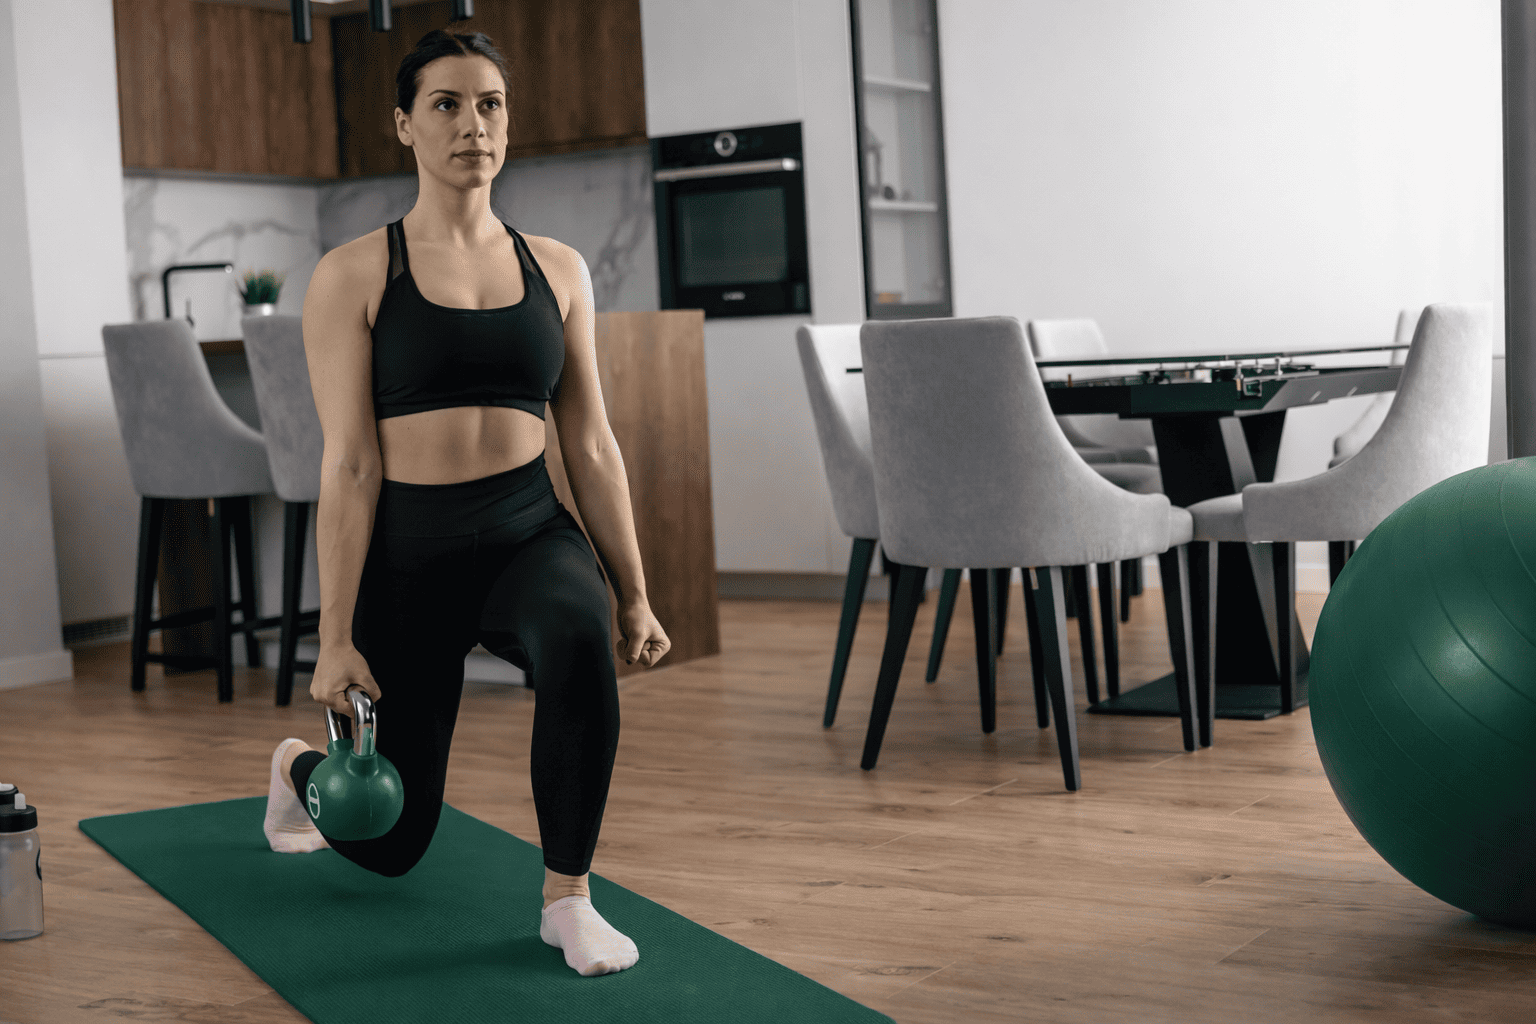
4) Front-Rack Reverse Lunge
What it replaces: lunges, split squats, single-leg stability
Why it matters: It strengthens legs while training balance and trunk control.
Lunges expose asymmetry. They also build the kind of practical strength you notice on stairs, in sports, and in the moment you have to carry something while stepping over something else.
Holding a kettlebell in the front rack (resting on the forearm near the shoulder) makes it more than a leg move — your trunk has to resist twisting, your upper back has to support the position, your grip has to stay calm.
How to do it
- Clean the bell into the front rack on one side.
- Step back into a reverse lunge (often easier on knees than stepping forward).
- Keep your torso tall, front shin relatively vertical.
- Push through the front foot to stand.
Cues that work
- “Quiet torso.”
- “Soft step back, strong drive up.”
- “Stay stacked: ribs over hips.”
Common mistakes
- Leaning forward and dumping into the front leg
- Letting the bell pull you sideways
- Taking too narrow a stance
Programming
- 3–4 sets of 6–10 reps per side
- Switch sides each set or halfway through.
5) One-Arm Clean
What it replaces: a lot of dumbbell logistics, “get the weight into position,” power and coordination
Why it matters: It teaches you to move weight efficiently without beating up your wrist.
A clean is the bridge between the floor and the front rack — and between raw strength and athletic skill. Done well, the kettlebell clean lands softly, like you placed it there. Done poorly, it slaps your forearm and teaches you to dread the movement.
How to do it
- Start with the bell between your feet.
- Hike it back like a swing.
- Drive hips forward and guide the bell up close to the body.
- Rotate your hand around the handle so the bell “rolls” into the rack — no bang.
Cues that work
- “Zip up your jacket.” (bell stays close)
- “Punch through the handle at the top.”
- “Soft landing.”
Common mistakes
- Casting the bell away from the body
- Curling it up with the arm
- Letting it crash onto the forearm
Programming
- Technique: 5 sets of 3–5 per side
- Conditioning: clean + squat combos (more on that below)
6) Strict Overhead Press
What it replaces: dumbbell press, shoulder strength, upper-body bracing
Why it matters: It builds shoulders the old-fashioned way — and trains the torso to stay organized.
The kettlebell press is subtly different from a dumbbell press. The bell sits behind the wrist, encouraging a stable forearm and shoulder. It also demands that you press without turning the movement into a standing backbend.
How to do it
- Start in a solid rack position: wrist straight, forearm vertical, elbow slightly forward.
- Tighten glutes and brace your core.
- Press overhead in a smooth line.
- Lower with control back to rack.
Cues that work
- “Squeeze glutes. Quiet ribs.”
- “Press yourself under the bell.”
- “Biceps by ear at the top.”
Common mistakes
- Leaning back to “cheat” the press
- Pressing out and around instead of up
- Letting wrist collapse back
Programming
- Strength: 4–6 sets of 3–6 per side
- Volume: 3–4 sets of 8–10 per side (if form stays clean)
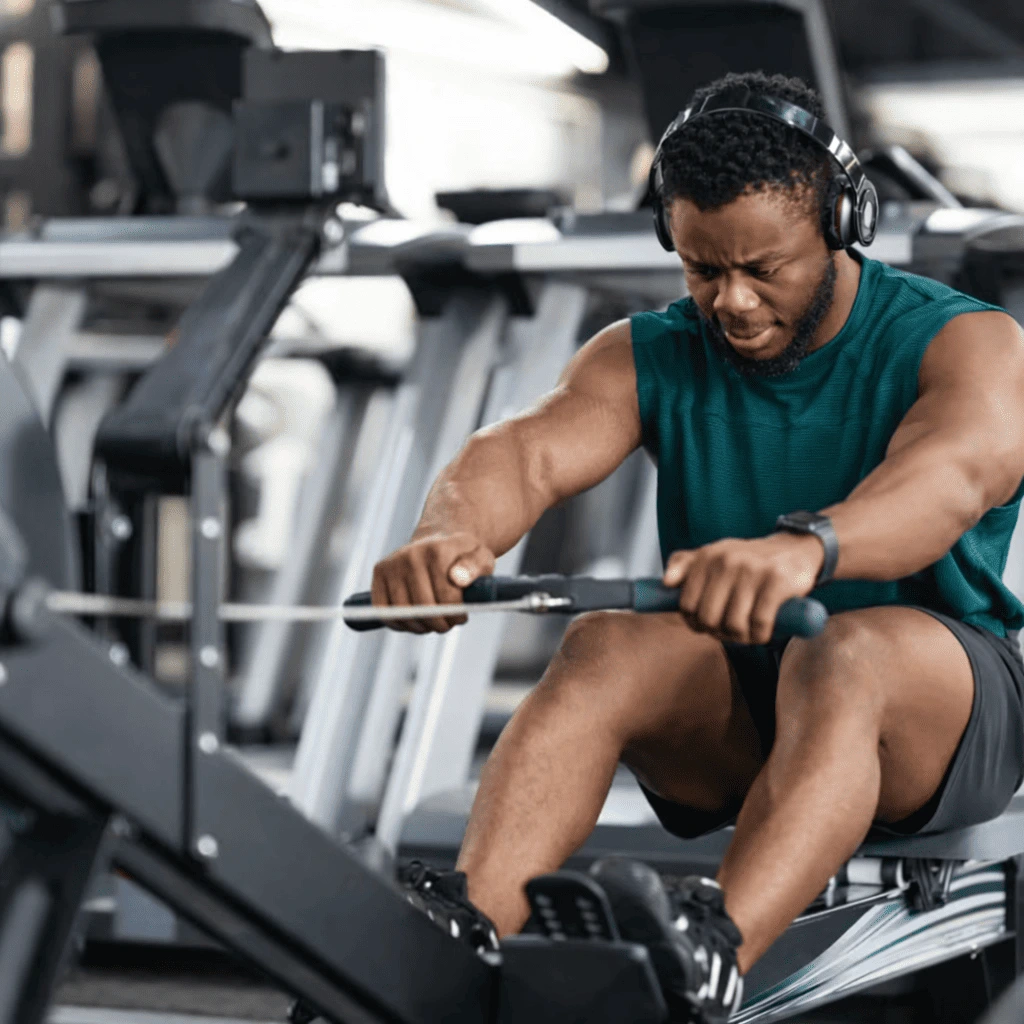
7) One-Arm Row (Supported or Hinge Row)
What it replaces: cable row, dumbbell row, back work many people skip
Why it matters: You can’t build a strong body on pushing alone.
Rows are the vegetables of strength training: essential, not always glamorous, and extremely useful when your shoulders start complaining.
With a kettlebell, you can row from a hinge, or support one hand on a bench/chair for stability. Either way, the goal is the same: pull with your back, not your neck.
How to do it (supported)
- Place one hand on a bench or sturdy surface.
- Hinge until your torso is near parallel to the floor.
- Row the bell toward your hip, elbow close to the body.
- Lower slowly.
Cues that work
- “Row to your back pocket.”
- “Long neck.”
- “Control the descent.”
Common mistakes
- Shrugging the shoulder to initiate the pull
- Twisting open aggressively
- Turning it into a biceps curl
Programming
- 3–4 sets of 8–12 per side
- Add pauses at the top for posture control.
8) Turkish Get-Up
What it replaces: core work, shoulder stability, mobility drills, a surprising amount of “coordination training”
Why it matters: It teaches strength you can’t fake.
The Turkish get-up is a slow, deliberate movement from floor to standing (and back) while holding a kettlebell overhead. It’s part strength, part mobility, part “pay attention.” It builds shoulder stability, trunk control, and confidence under load.
It also reveals your weak links politely — and then repeatedly.
How to do it (high level)
- Start lying down with the bell pressed up in one hand.
- Move step-by-step to sitting, then to a supported hand, then to a hip bridge, then to a kneeling position, then stand.
- Reverse the steps.
Because the get-up has many steps, the best approach is to learn it in pieces or with a coach/video guide. But the principle is simple: the bell stays stable; your body moves around it.
Cues that work
- “Eyes on the bell.”
- “Move slow enough to be correct.”
- “Own each position.”
Common mistakes
- Rushing the transitions
- Letting the bell drift behind the shoulder
- Losing wrist alignment overhead
Programming
- Beginners: 3–5 singles per side with a light bell
- Intermediate: 2–3 sets of 1–3 per side, focusing on quality
9) Suitcase Carry
What it replaces: loaded carries, core training, posture work, “real life”
Why it matters: It’s the simplest exercise that makes your whole body behave.
If you only did one kettlebell movement for the rest of your life, the suitcase carry would be a strong candidate. You pick up the bell in one hand and walk. That’s it. And yet it trains grip, obliques, posture, hip stability, and the ability to resist being pulled off-center — which is what most injuries and awkward movements are, in disguise.
How to do it
- Pick up the bell like a suitcase.
- Stand tall, shoulders level, ribs down.
- Walk slowly and steadily for distance or time.
- Switch sides.
Cues that work
- “Don’t lean away from the weight.”
- “Head tall, shoulders even.”
- “Quiet steps.”
Common mistakes
- Hiking the shoulder up
- Leaning hard to compensate
- Speed-walking so form collapses
Programming
- 4–8 carries of 20–40 meters (or 20–60 seconds)
- Heavier is not always better; clean posture is.
How to turn these moves into “a full gym” week
You don’t need complicated templates. You need repeatable ones. Here are three sessions built from the nine moves above. Adjust volume based on experience.
Workout A: Strength (Full-Body)
- Deadlift: 4 x 6–8
- Goblet squat: 4 x 8–10
- One-arm press: 5 x 5 per side
- One-arm row: 4 x 10 per side
- Suitcase carry: 6 x 30 seconds (alternating sides)
Rest 60–120 seconds between sets.
Workout B: Conditioning (Simple, Not Chaotic)
10-minute EMOM:
- Minute 1: 12–15 swings
- Minute 2: 6 cleans per side (or 8 goblet squats if cleans are new)
Then:
- Turkish get-up: 3 singles per side, slow and clean.
Workout C: Single-Leg + Core Control
- Front-rack reverse lunge: 4 x 8 per side
- One-arm row: 3 x 12 per side
- Press: 3 x 8 per side
- Suitcase carry: 6 x 20–40 meters
- Optional finisher: 5 x 10 swings (easy pace)
Do A/B/C 2–4 days per week depending on schedule and recovery.
The point isn’t the kettlebell. It’s what it makes possible.
The kettlebell works because it rewards fundamentals: a clean hinge, a solid brace, a stable shoulder, a grip that can hold steady when you’re tired. It’s not “magic.” It’s just honest.
And honesty is rare in fitness equipment. Most tools promise shortcuts. A kettlebell mostly offers the opposite: directness. But the trade is fair. With nine movements — hinge, swing, squat, lunge, clean, press, row, get-up, carry — you can build something that resembles a full gym experience, not because it mimics every machine, but because it trains the patterns your body actually uses.
Conclusion
If you want to feel stronger, more athletic, and more capable without building your life around gym logistics, a single kettlebell can take you surprisingly far — provided you treat technique like part of the workout, not a separate hobby.
And if you’d rather not overthink how to organize all of this, it’s easy to follow a structured training program using the Fitsse app — so your kettlebell sessions, progressions, and weekly plan stay simple, clear, and consistent.
Important notice: this content is educational and does not replace an individual evaluation. If you have a history of eating disorders, diabetes, pregnancy, or a medical condition, consult a healthcare professional before making dietary or exercise changes.


 Sign In