

The core has been sold to us, for decades, as a body part you can “get” if you suffer enough. It shows up in glossy before-and-afters and late-night promises, in routines that treat your midsection like an enemy to be defeated with volume: hundreds of crunches, a minute of burning, the vague hope that fatigue equals progress.
But your core is not a six-pack. Not primarily.
Your core is an agreement your body makes with gravity. It is the ability to stay organized when you move — to transfer force from the ground to your hands, to keep your spine from collapsing under load, to resist rotation when the world tries to twist you, and to breathe while doing all of it.
In other words: stability.
If you’ve ever watched someone deadlift with a strong back but a soft midsection — ribs flaring, spine wobbling — you’ve seen the difference. The same is true in overhead pressing, running, jumping, rowing, carrying a child, picking up groceries, catching yourself when you trip. Core stability is what turns strength into usable strength.
And it’s not just for athletes. It’s for anyone who wants their body to feel less fragile. A stable core reduces “leaks” — energy that disappears into unwanted movement — and helps keep the hips and shoulders working with the spine instead of around it.
The drills below are designed for that purpose. They aren’t meant to torch your abs until you can’t laugh. They’re meant to teach your torso to do its job quietly, so everything else can do its job loudly.
A note on language: when trainers talk about “the core,” they often mean the entire trunk — abdominals, obliques, spinal erectors, diaphragm, pelvic floor, deep stabilizers, hips, even the muscles around the shoulder blades that help control the rib cage. The goal isn’t to isolate one muscle. The goal is to build a system that works.
What “stability” actually means
Stability, in practical terms, is the ability to maintain or quickly regain a good position under changing demands. Your core’s most important talents are often anti- talents:
- Anti-extension: resisting the lower back arching (common in overhead work and planks done poorly).
- Anti-rotation: resisting twisting (critical for sports and asymmetrical loads).
- Anti-lateral flexion: resisting side-bending (the job of carries and many unilateral lifts).
- Controlled flexion/rotation: yes, your spine can move — the question is whether you own the movement or it owns you.
If you train only crunches, you train only one slice of that. If you train stability, you train the thing that makes squats, pulls, presses and even walking feel better.
The nine drills below are organized by what they teach. They can be done with minimal equipment and fit into most training plans as a warm-up, accessory circuit, or a short finisher. Quality matters more than quantity. If you do these with intention, you won’t need to do them for an hour.
1) Dead Bug (The “Ribs Down” Drill)
The dead bug looks easy. It’s supposed to. It is not an intensity drill; it is a control drill. It teaches anti-extension — keeping your lower back from arching while your arms and legs move.
How to do it
- Lie on your back. Bring hips and knees to 90 degrees, shins parallel to the floor. Arms reach to the ceiling.
- Exhale fully through the mouth as if fogging a mirror. Feel ribs drop toward the floor.
- Keeping the low back gently pressed into the floor, slowly lower one heel toward the ground and the opposite arm overhead.
- Return and alternate sides.
What to feel
- Abs working like a corset.
- A stable spine. No rib flare. No low-back arch.
Common mistakes
- Moving too fast.
- Letting the back arch (usually because the range is too big).
- Holding your breath.
Programming
- 2–4 sets of 5–8 slow reps per side.
Why it carries over
If you can’t keep your ribs down on the floor, you’ll struggle to do it standing under load. Dead bugs teach the foundational posture many people lose in squats, presses and running: stacked ribs over pelvis.
2) Plank With Reach (Not Just a Time Test)
Planks get treated like a contest: how long can you suffer? But a long plank with poor position is mostly a shoulder endurance drill and a low-back arching drill.
Adding a reach changes the goal: you have to resist rotation and extension as you remove one point of support.
How to do it
- Start in a strong forearm or high plank: elbows under shoulders, glutes tight, legs long.
- Exhale, ribs down, gaze slightly ahead.
- Reach one arm forward slowly, then return without shifting your hips.
- Alternate sides.
What to feel
- Abs bracing.
- Glutes engaged.
- Hips staying quiet.
Common mistakes
- Hips swaying side to side.
- Reaching too far or too fast.
- Looking up and collapsing into the lower back.
Programming
- 2–3 sets of 6–10 reaches total, slow and controlled.
Why it carries over
This is anti-rotation in a simple form. It teaches you to keep your torso calm while the limbs work — exactly what happens in most athletic movement.
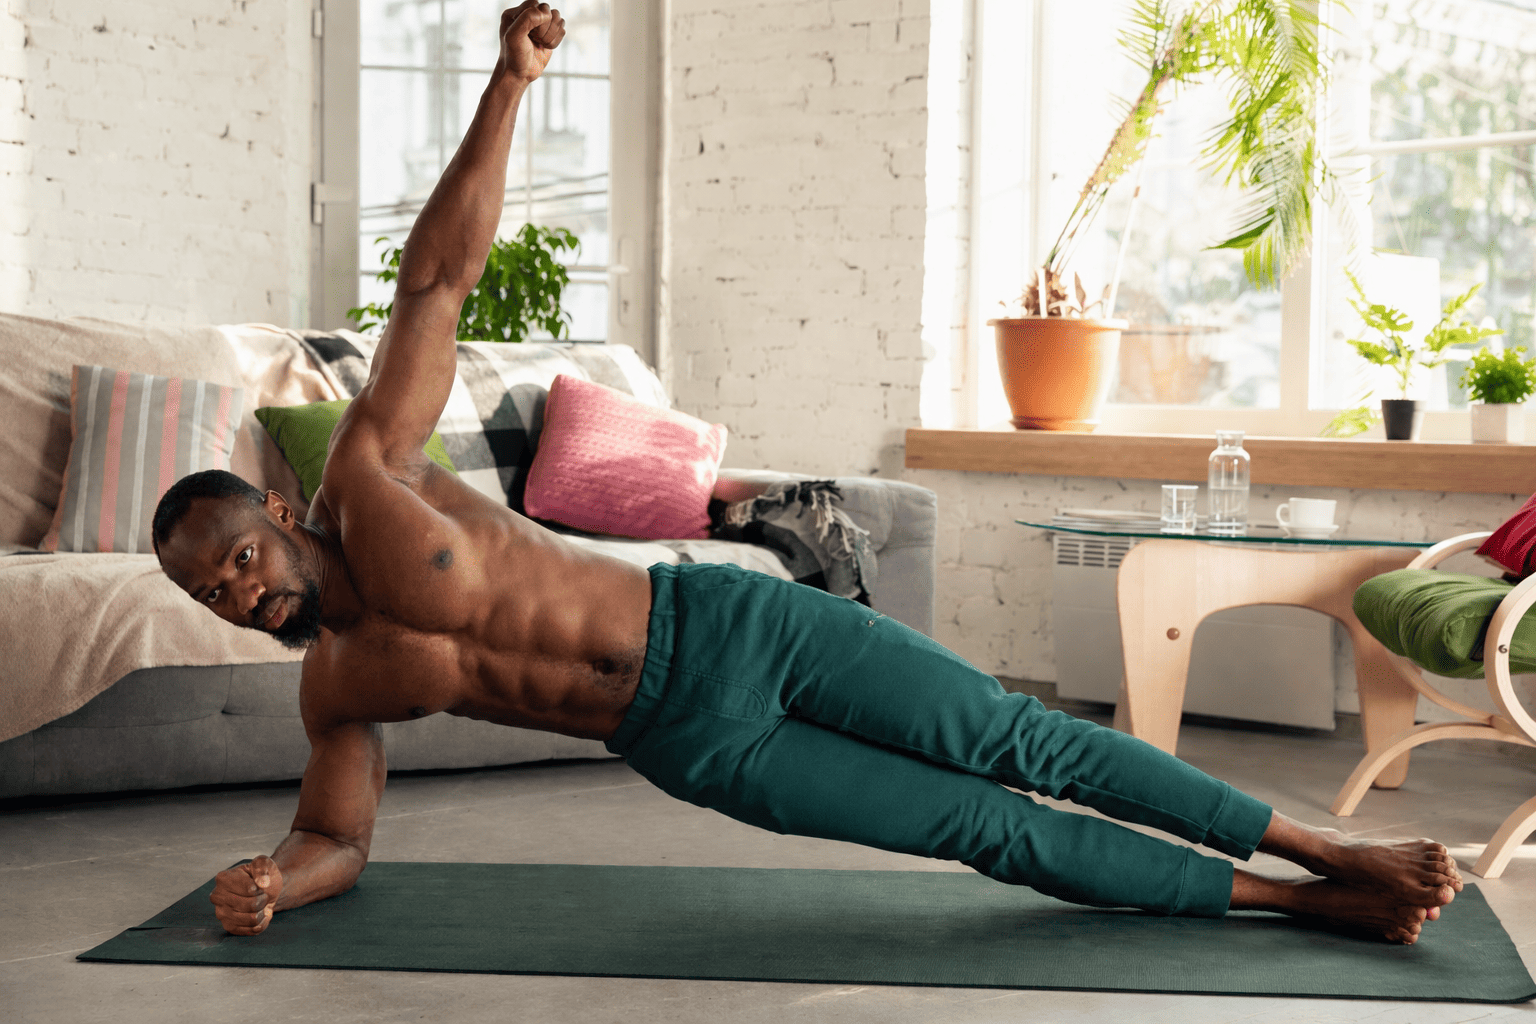
3) Side Plank (With a Top-Leg Lift if You’re Ready)
Side planks are the practical cousin of crunches. They train anti-lateral flexion (resisting side bending) and build oblique endurance that matters for carries, running mechanics and spinal resilience.
How to do it
- Lie on your side, forearm under shoulder.
- Stack feet or stagger them for support.
- Lift hips, making a straight line from head to heels.
- Hold while breathing slowly.
Progression
- Lift the top leg slightly (a few inches) without losing hip position. This adds glute med work and makes the drill more “whole-body.”
Common mistakes
- Hips drifting back.
- Shoulder shrugging toward the ear.
- Holding breath.
Programming
- 2–4 holds of 20–40 seconds per side.
Why it carries over
Most real-life tasks are asymmetrical. Side planks train the muscle groups that keep your spine from folding when weight is in one hand, one foot is planted, or your body has to resist sway.
4) Pallof Press (The Anti-Rotation Classic)
If you’ve ever carried a heavy bag in one hand and felt your torso want to twist, you understand the Pallof press. It teaches anti-rotation in a crisp, measurable way.
You need a cable stack or a resistance band anchored at about chest height.
How to do it
- Stand sideways to the anchor point, feet shoulder-width.
- Hold the handle/band at your sternum with both hands.
- Exhale, brace, and press the hands straight out.
- Hold for a beat, then return.
What to feel
- Your torso resisting the urge to rotate toward the anchor.
- Steady hips. Quiet ribs.
Common mistakes
- Letting the hips shift.
- Arching the lower back.
- Pressing without bracing first.
Programming
- 3 sets of 8–12 reps per side, with a 1–2 second pause at full extension.
- Or 3–4 holds of 10–20 seconds.
Why it carries over
It builds the kind of control that protects your spine during asymmetrical lifting, sport movement and daily life. It’s also friendly on the back: no flexion, no strain, just bracing.
5) Suitcase Carry (The Walking Core Exercise)
Carries are the most underrated core work because they don’t look like core work. They train grip, posture, hips and trunk all at once, and they do it in the posture you actually live in: standing.
Suitcase carries emphasize anti-lateral flexion and anti-rotation.
How to do it
- Pick up a dumbbell or kettlebell in one hand.
- Stand tall: ribs stacked over hips, shoulders level.
- Walk slowly for distance or time.
- Switch sides.
Cues
- “Don’t lean away from the weight.”
- “Quiet steps.”
- “Shoulders level like a table.”
Common mistakes
- Hiking the loaded shoulder up.
- Leaning hard to compensate.
- Speed-walking and losing posture.
Programming
- 4–8 carries of 20–40 meters (or 20–60 seconds).
Why it carries over
This is stability as a life skill. Carry drills teach your trunk to stabilize while you move — which is most of what your core is for.
6) Bird Dog (Done Like a Precision Drill)
The bird dog has been prescribed to everyone from runners to people in physical therapy, and for good reason. It trains spinal stability, cross-body coordination and the ability to move limbs without turning your trunk into a wobbly bridge.
The mistake is treating it as a casual stretch. Done well, it’s a full-body bracing drill.
How to do it
- Start on hands and knees: hands under shoulders, knees under hips.
- Exhale to brace. Keep ribs quiet and spine long.
- Extend one leg behind you and the opposite arm forward.
- Pause. Return. Alternate.
Make it harder
- Slide the toes on the floor rather than lifting, to learn control.
- Add a slow “elbow to knee” touch without rounding aggressively.
Common mistakes
- Rotating the hips open.
- Arching the low back.
- Reaching too high instead of too long.
Programming
- 2–4 sets of 6–8 controlled reps per side with a 2–3 second pause.
Why it carries over
Bird dogs teach your body to stabilize while the limbs move — the basic pattern of running and many strength exercises.
7) Hollow Hold (The Gymnast’s Bracing Lesson)
If planks teach you to resist extension with your body facing down, hollow holds teach you to do it facing up. This is a key drill for calisthenics, but it’s valuable for anyone who wants stronger bracing.
How to do it
- Lie on your back. Exhale fully and press low back gently into the floor.
- Lift shoulders and feet slightly off the ground.
- Keep ribs down and pelvis tucked slightly, like you’re trying to shorten the distance between ribs and hips.
- Hold while breathing calmly.
Scale it
- Bend knees.
- Keep arms by your sides instead of overhead.
- Hold for shorter sets.
Common mistakes
- Lower back arching off the floor.
- Holding your breath.
- Going too hard too soon and turning it into neck strain.
Programming
- 4–6 holds of 10–25 seconds.
Why it carries over
It builds the bracing pattern that supports pull-ups, overhead work and athletic movement — and it’s a ruthless teacher of rib position.
8) Hip Bridge March (Glutes + Core in a Useful Partnership)
Core stability isn’t only “abs.” Your glutes are part of the system that stabilizes the pelvis and reduces unwanted spinal movement. The hip bridge march trains that relationship: maintaining a stable pelvis while one leg lifts.
How to do it
- Lie on your back, knees bent, feet flat.
- Lift hips into a bridge: glutes tight, ribs down.
- Without letting hips drop or twist, lift one knee toward your chest a few inches.
- Set it down and switch.
What to feel
- Glutes doing the work.
- Core preventing rotation.
- Hamstrings not cramping (if they are, bring feet closer and focus on glutes).
Common mistakes
- Hips rocking side to side.
- Hyperextending the lower back at the top.
- Moving too fast.
Programming
- 2–4 sets of 8–12 marches total, slow.
Why it carries over
A stable pelvis supports your back in squats, lunges, running and any movement that involves single-leg stance.
9) Slow Mountain Climbers (The Anti-Chaos Version)
Mountain climbers are often performed as cardio — quick knees, noisy feet, a blur. But a slower version becomes a stability drill: can you move your leg under your body without shifting your hips or collapsing your spine?
How to do it
- Start in a strong high plank.
- Exhale and brace.
- Slowly bring one knee toward your chest, then return it without swaying.
- Alternate.
Make it harder
- Pause with the knee under the torso for one second.
- Use sliders under feet for more control demand.
Common mistakes
- Hips bouncing.
- Shoulder position collapsing.
- Treating it like speed work.
Programming
- 2–3 sets of 6–10 reps per side, slow with control.
Why it carries over
This is stability under motion — the core’s real job. It’s also a subtle conditioning tool when done in controlled sets.
How to program these drills without turning them into a second workout
Core stability work is most effective when it’s brief, regular and paired with your main training. You don’t need a 30-minute ab session. You need 8–12 minutes of good work, a few times a week.
Here are three clean ways to use these drills:
Option A: Warm-Up Primer (6–10 minutes)
- Dead bug: 2 sets
- Bird dog: 2 sets
- Suitcase carry: 2 short carries per side
This sets your rib and pelvis position before lifting.
Option B: Strength-Day Accessory (8–12 minutes)
Circuit x 2–3 rounds:
- Pallof press: 10 per side
- Side plank: 30 sec per side
- Hip bridge march: 10 total
Rest as needed. Stay clean.
Option C: “Minimal Effective Dose” Weekly Plan
Do this 3 days per week:
- Day 1: Dead bug + suitcase carry
- Day 2: Pallof press + side plank
- Day 3: Hollow hold + slow mountain climbers
Rotate variations every 4–6 weeks.
Progress without chasing pain
Stability progress is measured differently:
- Longer holds with better breathing
- Less shaking
- Heavier carries with the same posture
- More control at slower tempos
If you finish core work and feel like you “destroyed your abs,” you may have trained fatigue more than stability. Some burn is fine; the goal is control.
How core stability shows up in the rest of your training
You’ll notice it first in small ways, which is how most important improvements arrive.
- Your squat feels more upright, less like a folding chair.
- Your deadlift feels steadier off the floor.
- Your overhead press stops turning into a backbend.
- Your running stride feels less sloppy late in a run.
- Your lower back feels less “involved” in movements where it shouldn’t be the star.
Core stability reduces compensations. It doesn’t just make you stronger; it makes your strength cleaner.
Conclusion
If you’ve been training your core as if the goal is to suffer until your abs are numb, these drills may feel almost disappointingly calm. That’s the point. Stability is quiet. It’s your torso doing the right thing while everything else moves.
Pick three drills, do them two or three times a week, and treat them like skill work: controlled, repeatable, owned. You don’t need more drama. You need more consistency.
And if you want to keep everything organized — strength days, conditioning, and these stability drills — it’s easy to have a structured training program using the Fitsse app, so your plan stays simple and you can keep showing up.
Important notice: this content is educational and does not replace an individual evaluation. If you have a history of eating disorders, diabetes, pregnancy, or a medical condition, consult a healthcare professional before making dietary or exercise changes.


 Sign In