

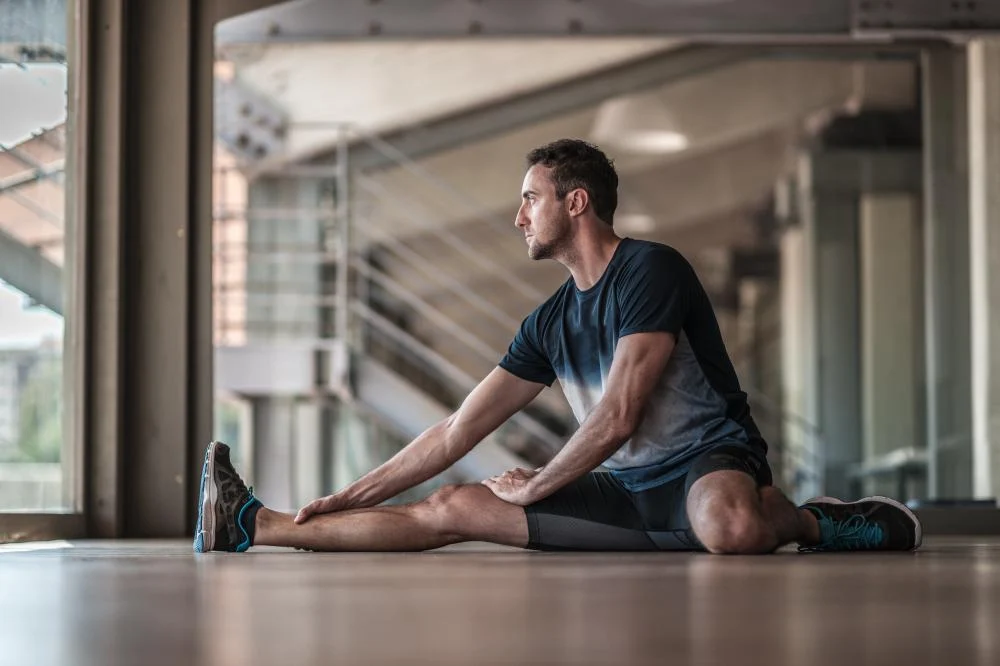
Walk into any busy gym and you’ll see the same pattern: people rush in, do a couple of half-hearted arm swings, maybe touch their toes, and then jump straight under a barbell. For a while, this works. Then, over time, the small aches start to creep in — a hip that always feels tight, shoulders that complain during bench, knees that don’t love squats the way they used to.
It’s easy to blame “bad joints” or age. Often, though, the problem isn’t the lift itself. It’s what happens before you lift.
Mobility work is the bridge between your everyday life — sitting, typing, driving — and the demands of heavy strength training. It’s not about being able to do the splits or twist yourself into a pretzel. It’s about owning the positions your lifts require: deep, stable hips for squats, mobile yet strong shoulders for pressing, ankles that let your knees track comfortably without collapsing into awkward angles.
The good news: improving your mobility doesn’t require hour-long stretching sessions or complicated routines. A small set of intentional exercises, done consistently, can make your lifts feel smoother, safer and stronger.
Below are eight simple mobility exercises designed with lifters in mind. You don’t need fancy equipment, and you don’t need to be naturally flexible. What you do need is a few minutes before your workout and a willingness to move slowly and pay attention to what your body is telling you.
1. Deep Supported Squat Hold
Best for: Squat depth, hip and ankle mobility, feeling stable in the bottom position.
The deep bodyweight squat — sometimes called a “third-world squat” — is both a mobility drill and a way to check in with how your hips, knees and ankles are doing on a given day. Think of it as a rehearsal for the bottom of your squat, without the weight on your back.
How to do it:
- Stand with your feet around shoulder-width apart, toes slightly turned out, just like your normal squat stance.
- Hold onto something sturdy in front of you if needed: a squat rack, a heavy dumbbell, or a door frame.
- Sit your hips down and back into a deep squat, letting your hips drop as low as is comfortable while keeping your heels on the floor.
- Keep your chest as upright as you can and use your elbows to gently push your knees out if that feels good.
- Hold for 20–60 seconds, breathing slowly. Come up, shake your legs out, and repeat 2–3 times.
How it should feel:
You should feel a stretch in your hips, maybe your calves, and a sense of your ankles working to keep you balanced. It shouldn’t feel like your knees are being jammed or pinched. If you can’t get very low, stay where you can control the position and gradually work deeper over time.
Why it helps:
This position closely mimics the bottom of your squat. Getting comfortable here — with good posture and relaxed breathing — can improve your confidence and body awareness when the bar is loaded.
2. Half-Kneeling Hip Flexor Stretch With Glute Squeeze
Best for: Opening tight hip flexors from long hours of sitting; improving hip extension for squats and deadlifts; easing low-back strain.
Long days at a desk often leave the front of your hips — the hip flexors — shortened and tight. When you try to squat or deadlift, your body may compensate by arching your lower back excessively instead of moving through the hips.
This version of the hip flexor stretch teaches your hips to extend while keeping your core engaged and your back happy.
How to do it:
- Kneel on the floor in a “proposal” position: one knee down, one foot in front, front knee at roughly a 90° angle.
- Tuck your pelvis slightly under, as if you’re zipping up tight jeans.
- Gently squeeze the glute (butt muscle) of the leg that’s on the floor.
- Without leaning forward, slowly shift your weight forward just until you feel a stretch at the front of the hip on the kneeling side.
- Hold for 20–30 seconds, breathing steadily, then switch sides. Repeat 2–3 times per side.
How it should feel:
You should feel a clear stretch in the front of your hip, not a sharp pull in your lower back. The glute squeeze is key: it helps tilt your pelvis into a safer, more effective position.
Why it helps:
Better hip extension means your hips can move freely behind you instead of borrowing motion from your spine. This can make your deadlifts feel more powerful and your squats more comfortable, especially at the bottom.
3. 90/90 Hip Rotations
Best for: Hip rotation, deeper and more comfortable squats, reducing “pinchy” hips.
Many people can move their hips forward and back reasonably well, but struggle with rotation — the ability to open and close the hips. That rotation is crucial for finding a squat stance that feels good and for keeping your knees tracking safely over your toes.
The 90/90 position trains both internal and external rotation of the hip in a controlled way.
How to do it:
- Sit on the floor with one leg in front of you, knee bent at 90°, and the other leg out to the side, also bent at 90°. Both shins should be roughly perpendicular to your body, forming a kind of zig-zag shape.
- Sit tall — imagine a string pulling the top of your head toward the ceiling.
- Gently lean your chest toward the front shin until you feel a stretch in the outside of that hip. Take a few breaths.
- Return upright, then slowly rotate your torso toward the back leg and gently lean in that direction, feeling a different stretch.
- For dynamic rotations, plant your hands behind you, keep your feet in place, and slowly “windshield wiper” your knees from one side to the other, moving through 90/90 on each side.
How it should feel:
You may notice one side feels much tighter than the other. That’s common. The stretch should feel deep but controllable, not painful.
Why it helps:
Better hip rotation helps you find and maintain strong positions in squats and lunges, and may reduce the sense that your hips are “stuck” at a certain depth.
4. Ankle Wall Mobilizations
Best for: Ankle dorsiflexion (how far your knee can travel over your toes); squat depth; knee comfort.
Ankles are often the forgotten joint in lifting, but they quietly determine a lot about how your squat looks and feels. If your ankles can’t bend enough, your heels may want to lift, your knees may cave inward, or your torso may tip forward to compensate.
Ankle wall mobilizations are a simple way to restore some range.
How to do it:
- Stand facing a wall, with one foot about a hand’s width away from it, heel on the floor.
- Keeping your heel down, bend your front knee and try to touch it gently to the wall.
- If your knee can touch easily, scoot your foot a little farther back and repeat.
- If your heel pops up, move your foot slightly closer until you can keep the heel grounded.
- Rock gently in and out of that end range — knee toward wall, then back — for 10–15 reps per side.
How it should feel:
You should feel a stretch, often in the lower calf or near the Achilles tendon, but not sharp pain. The motion is controlled and rhythmic, not bouncing.
Why it helps:
More ankle dorsiflexion gives your knees room to move forward in the squat, allowing you to stay more upright and balanced. For many lifters, improving ankle mobility alone noticeably changes their squat depth and comfort.
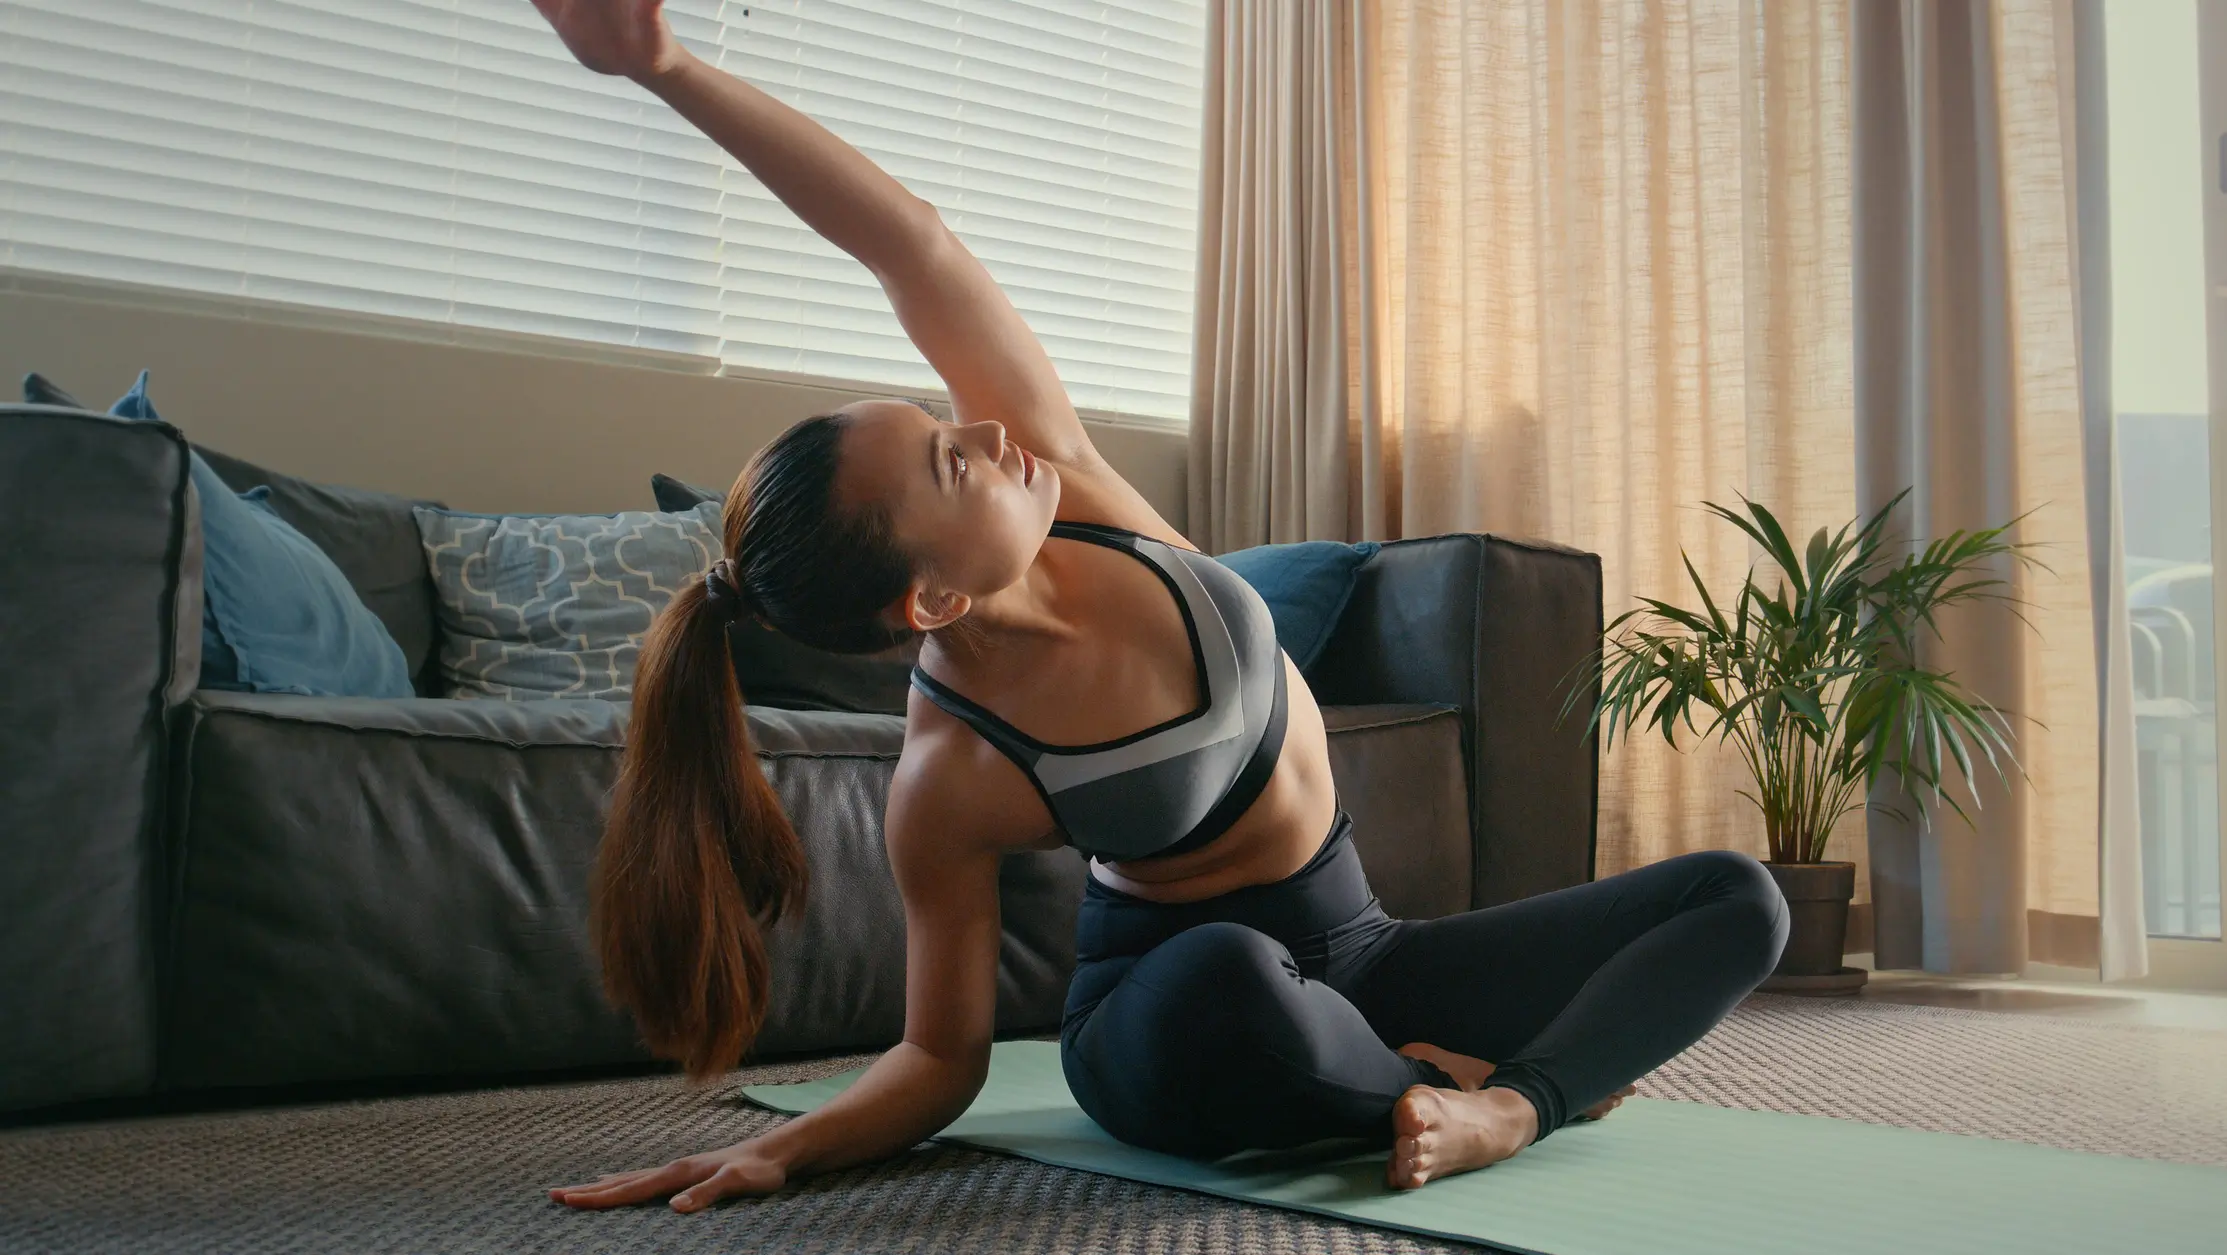
5. Cat-Cow and Thread-the-Needle (Thoracic Spine Combo)
Best for: Thoracic spine (upper back) mobility; safer pressing; better overhead positions.
Your upper back is meant to move — to flex, extend and rotate. Unfortunately, long hours hunched over a computer often turn it into a stiff block. When your upper back doesn’t move well, your shoulders have to pick up the slack, which can lead to pinching and irritation during pressing movements.
This two-part combo addresses both flexion/extension and rotation.
Cat-Cow:
- Start on all fours, hands under shoulders, knees under hips.
- Inhale as you gently arch your back, lifting your chest and tailbone, letting your belly soften toward the floor (this is “cow”).
- Exhale as you round your spine toward the ceiling, tucking your chin and tailbone (this is “cat”).
- Move slowly between these positions for 8–10 breaths.
Thread-the-Needle:
- Stay on all fours.
- Reach your right arm under your body toward the left side, palm up, letting your right shoulder and side of your head come toward the floor.
- You should feel a gentle stretch across your upper back. Hold for a few breaths.
- Return to all fours and repeat on the other side. Do 3–5 reps per side.
How it should feel:
Your spine should feel like it’s gently un-sticking, not like you’re forcing it. Movements are smooth and pain-free.
Why it helps:
A more mobile upper back makes it easier to keep your chest up in squats, stabilize your spine in deadlifts, and get your arms overhead without forcing your shoulders into awkward positions.
6. Banded or Stick Shoulder Pass-Throughs
Best for: Shoulder mobility; overhead pressing; bench press comfort.
If overhead pressing feels cramped or your shoulders complain during bench, your shoulder joint and surrounding tissues may be restricted. Pass-throughs encourage your shoulders to move through a large, controlled range — front to back — while your ribcage and spine stay relatively stable.
How to do it:
- Take a light resistance band, a PVC pipe, or even a broomstick.
- Hold it with a wide grip in front of you at waist height, arms straight but not locked.
- Keeping your arms long and your ribs down (no big arch in your lower back), slowly lift the band or stick overhead and continue moving it behind you as far as is comfortable.
- Reverse the motion, bringing it back over your head to the starting position.
- Perform 8–12 slow, controlled reps.
How it should feel:
You should feel a stretch across your chest and the front of your shoulders, and some work around your shoulder blades. If you feel sharp pinching, widen your grip or limit the range until it’s comfortable.
Why it helps:
Pass-throughs help open the chest and train your shoulders to move as part of a system with your shoulder blades and upper back. That can translate into smoother overhead presses and a more stable bench setup.
7. Glute Bridge With Controlled Lowering
Best for: Hip extension; glute activation; easing strain on the lower back in deadlifts and squats.
Is a glute bridge a “mobility” exercise or an “activation” exercise? In practice, it can be both. Many lifters have plenty of passive flexibility in their hips, but struggle to use it in a strong, controlled way. The glute bridge helps you find and own the top of hip extension, where your glutes should be working.
How to do it:
- Lie on your back with your knees bent and feet flat on the floor, hip-width apart.
- Engage your core lightly as if bracing for a gentle poke to the stomach.
- Press through your heels and squeeze your glutes to lift your hips until your body forms a straight line from shoulders to knees.
- Pause for 2–3 seconds at the top, focusing on the glute squeeze rather than arching through your lower back.
- Slowly lower your hips back down, taking 3–4 seconds to reach the floor.
- Perform 10–15 reps.
How it should feel:
You should feel this primarily in your glutes and maybe your hamstrings, not as a sharp pinch in your lower back. The controlled lowering turns it into a kind of moving stretch for the front of your hips.
Why it helps:
Strong, mobile hips that can extend fully are crucial for locking out deadlifts, finishing squats and maintaining a solid posture. The glute bridge teaches your body what that position feels like without a heavy load.
8. World’s Greatest Stretch (Lunge With Rotation)
Best for: Full-body warm-up; hips, hamstrings, hip flexors and thoracic rotation all in one; preparing for big compound lifts.
It’s a bold name, but this lunge-based stretch earns its reputation in the lifting world by efficiently combining several mobility drills into one flowing movement.
How to do it:
- Step forward into a long lunge with your right foot, left leg extended behind you, back heel off the ground.
- Place both hands on the floor inside your right foot. You should feel a stretch in your left hip flexor and your right inner thigh.
- From this position, lift your right hand and rotate your chest toward your right knee, reaching your hand toward the ceiling. Follow your hand with your eyes. Hold for a breath.
- Bring your right hand back down, then gently shift your hips back, straightening your front leg as much as is comfortable and bringing your toes toward your face. You should feel a stretch in the back of your right thigh.
- Return to the lunge position and step back to standing.
- Repeat on the other side. Perform 3–5 reps per side in a slow, smooth sequence.
How it should feel:
It should feel like a moving tour of your hips and upper back. You’re not yanking yourself into extreme ranges; you’re gliding in and out of positions, breathing as you go.
Why it helps:
This stretch mimics the kind of positions you’ll see in squats and lunges while also opening your upper back. It’s an efficient way to “wake up” your body before heavy lower-body training.
How To Fit These Into a Real-World Warm-Up
You don’t need to do all eight exercises every time you train. A realistic approach is to pick 4–6 that match the day’s lifts and your personal weak spots, and run through them in about 10 minutes before you touch a barbell.
For example:
Before squats or lower-body day:
- Deep Supported Squat Hold
- Ankle Wall Mobilizations
- Half-Kneeling Hip Flexor Stretch
- 90/90 Hip Rotations
- World’s Greatest Stretch
Before bench or overhead press:
- Cat-Cow + Thread-the-Needle
- Banded Shoulder Pass-Throughs
- Glute Bridge (for overall hip and core stability)
The order matters less than the intention. Move slowly. Breathe. Pay attention to where you feel restricted, and over time, you may choose to give those areas a little extra care.
A Few Important Notes on Safety
- Nothing should feel sharp or alarming. Mild discomfort, a sense of “tightness” or stretch, is normal; pain that makes you wince or hold your breath is a sign to back off.
- Don’t bounce into end ranges. Control matters more than how far you can force yourself to move.
- If you have existing injuries or joint issues, it’s wise to speak with a healthcare professional or qualified coach about what’s appropriate for you.
Mobility as a Long-Term Investment
Mobility work can feel unglamorous compared to big lifts and new personal records. It doesn’t show up in progress photos, and you don’t log it in an app with colorful graphs. But over time, it shapes how well you can express your strength.
Better mobility means:
- Positions feel more natural and less forced.
- You spend less time working around nagging aches.
- You can push hard in your training with more confidence.
You don’t need to become a full-time mobility enthusiast. A handful of simple exercises, practiced consistently, can quietly transform how your body moves under the bar.
Pick one or two from this list to start. Add them to the beginning of your next few workouts. Notice how your warm-up sets feel. Then, as the weeks go by, adjust: keep what works, replace what doesn’t, and treat mobility not as a separate chore, but as part of the way you train.
Strong lifting is not just about how much you can force your body to do today. It’s about how well your body can keep showing up — month after month, year after year. Mobility is what helps keep that door open.
Important notice: this content is educational and does not replace an individual evaluation. If you have a history of eating disorders, diabetes, pregnancy, or a medical condition, consult a healthcare professional before making dietary or exercise changes.


 Sign In