

The knee is an honest joint. It does not care how motivated you are, how new your leggings are, or how inspiring your playlist sounded on the way to the gym. If a movement irritates it, the knee will tell you — sometimes immediately, sometimes later that night when you’re standing at the sink and suddenly negotiating with your own body.
For a lot of people, that’s the moment strength training starts to feel less like empowerment and more like risk management. Squats and lunges — the exercises everyone says you “should” do — begin to carry an asterisk. You either avoid legs entirely, or you keep training and accept soreness that doesn’t feel like normal muscle fatigue. Then, quietly, your glutes stop showing up to work, your hips get tighter, your knees pick up even more responsibility, and the cycle repeats.
Resistance bands can interrupt that cycle — not because they’re magical, but because they allow you to train the lower body in ways that are often more hip-dominant, more controlled, and easier to scale than many free-weight moves. Bands also create resistance that increases as the band stretches. That means you can often stay in ranges of motion that feel friendlier for irritated knees while still giving your muscles a meaningful challenge.
A crucial note, because it’s the responsible thing to say out loud: no exercise is guaranteed to be pain-free for every knee. “Knee-friendly” isn’t a promise; it’s a design goal. If you have sharp pain, swelling, locking, instability, or symptoms that persist, it’s worth checking in with a qualified clinician. But if your knees tend to get cranky with traditional lower-body strength work, the eight exercises below are a smart place to start — and a way to build stronger glutes and legs without turning every session into a referendum on your joints.
Before we get to the list, it helps to understand what usually makes an exercise feel “knee-friendly” in the first place.
What “Knee-Friendly” Usually Means (In Practice)
Knees are built to bend, load, and extend. Problems often show up when the knee is forced to compensate for missing strength or control somewhere else — most commonly the hips, glutes, ankles, and trunk.
In knee-friendly lower-body work, you’ll see a few themes:
1) More hip, less knee.
Hip-dominant movements (hinges, bridges, thrusts) load the glutes and hamstrings heavily while keeping the knee angle relatively stable.
2) Controlled range of motion.
You don’t have to earn deep knee flexion on day one. Bands make it easy to choose a comfortable range and gradually expand it.
3) Better alignment without overthinking.
Many people feel knee discomfort when the knee collapses inward (valgus) or when the foot is unstable. Mini bands can cue the hips to stabilize, which often improves how the knee tracks.
4) Lower impact, lower “surprise.”
Bands don’t add impact. They also tend to make you move slower — and speed can hide bad positions.
5) A sensible pain rule.
A useful guideline many coaches and clinicians use: mild discomfort that stays low (think 0–3 out of 10) and resolves within 24 hours may be acceptable. Sharp pain, escalating pain, or pain that lingers and worsens is your cue to modify or stop.
Now the exercises.
The Equipment You Need (Simple, Not Precious)
- A mini loop band (the small closed loop, often used above the knees or ankles)
- A long resistance band (a thicker loop or a band with handles, ideally something you can anchor safely)
If you’re buying one thing, buy a mini band set with light/medium/heavy. The ability to scale matters more than the “best” brand.
1) Banded Glute Bridge (Mini Band)
If you want glutes without knee drama, start here. The bridge is a hip extension exercise: the hips do the work; the knees mostly hold position.
How to do it
- Lie on your back with knees bent, feet flat, about hip-width apart.
- Place a mini band just above your knees.
- Before lifting, gently press your knees outward into the band — not a dramatic flare, just enough to feel your outer hips turn on.
- Exhale, brace your midsection, and lift your hips until your body forms a straight line from shoulders to knees.
- Pause 1–2 seconds at the top, then lower slowly.
Why it tends to be knee-friendly
The knee angle doesn’t change much, and the load stays centered in the hips.
Cues that usually help
- “Ribs down.” (Don’t arch your lower back to get height.)
- “Drive through midfoot and heel.”
- “Squeeze glutes, not low back.”
Sets and reps
- 3 sets of 10–15 reps
- Or 2–3 sets of 20–30 seconds holding the top position
Make it harder
- Use a heavier band
- Add a 3-second lowering phase
- Switch to single-leg (only if it feels stable)
2) Banded Hip Thrust (Bench Optional)
The hip thrust is the bridge’s more powerful cousin. It can be done on the floor, but elevating your upper back increases range of motion — and glute recruitment — without asking the knee to do much more.
How to do it
- Sit on the floor with your upper back against a bench or sturdy couch.
- Place the mini band above your knees.
- Feet flat, knees bent.
- Brace, then drive hips up until your torso is roughly parallel to the floor.
- Keep the chin slightly tucked and ribs down.
Why it tends to be knee-friendly
The movement is still hip extension. The knee stays in a stable bend rather than moving through deep flexion.
Common mistake
Letting knees cave inward at the top (which shifts demand away from the hips). The mini band helps you feel that and correct it.
Sets and reps
- 3–4 sets of 8–12 reps
- Rest 60–90 seconds
Make it friendlier (if needed)
- Reduce range of motion (don’t chase a dramatic top position)
- Move feet slightly farther from your body to reduce knee angle
3) Banded Romanian Deadlift (RDL) (Long Band)
If bridges and thrusts build hip extension from the floor, the Romanian deadlift trains hip extension while you’re standing — which is where life actually happens.
This is a hinge: your hips move back; your knees soften but don’t travel much.
How to do it (one band option)
- Stand on the middle of a long band with feet hip-width.
- Hold the ends of the band like handles.
- Soften the knees slightly (think “athletic stance”).
- Push your hips back as if closing a car door with your hips.
- Keep your spine long and your ribs stacked over your pelvis.
- When you feel a stretch in hamstrings, stand tall by squeezing glutes.
Why it tends to be knee-friendly
It’s hip-dominant; the knees bend only a little and stay relatively fixed.
Cues that usually help
- “Shins stay mostly vertical.”
- “Hips back, not down.”
- “Feel hamstrings, then glutes.”
Sets and reps
- 3 sets of 10–15 reps
- Focus on a slow lowering (2–3 seconds)
Make it harder
- Use a stronger band
- Pause for 1 second at the bottom
- Add a longer range (only if your back stays neutral)
4) Banded Good Morning (Long Band)
The good morning is another hinge, similar to an RDL, but the resistance can be positioned to load the hips differently — often with even less temptation to “bend the knees into a squat.”
How to do it (a safe setup)
- Stand on the band with feet hip-width.
- Place the band across your upper back (like a backpack strap), holding it gently in place with your hands.
- Soft knees, brace.
- Hinge by sending hips back.
- Stand tall by squeezing glutes and finishing with hips, not your lower back.
Why it tends to be knee-friendly
Again: minimal knee travel, big hip demand.
Who should be cautious
If you have significant low-back issues, keep range small, focus on bracing, or stick to bridges/RDLs until you feel confident.
Sets and reps
- 2–3 sets of 8–12 reps
- Keep it clean, not maximal
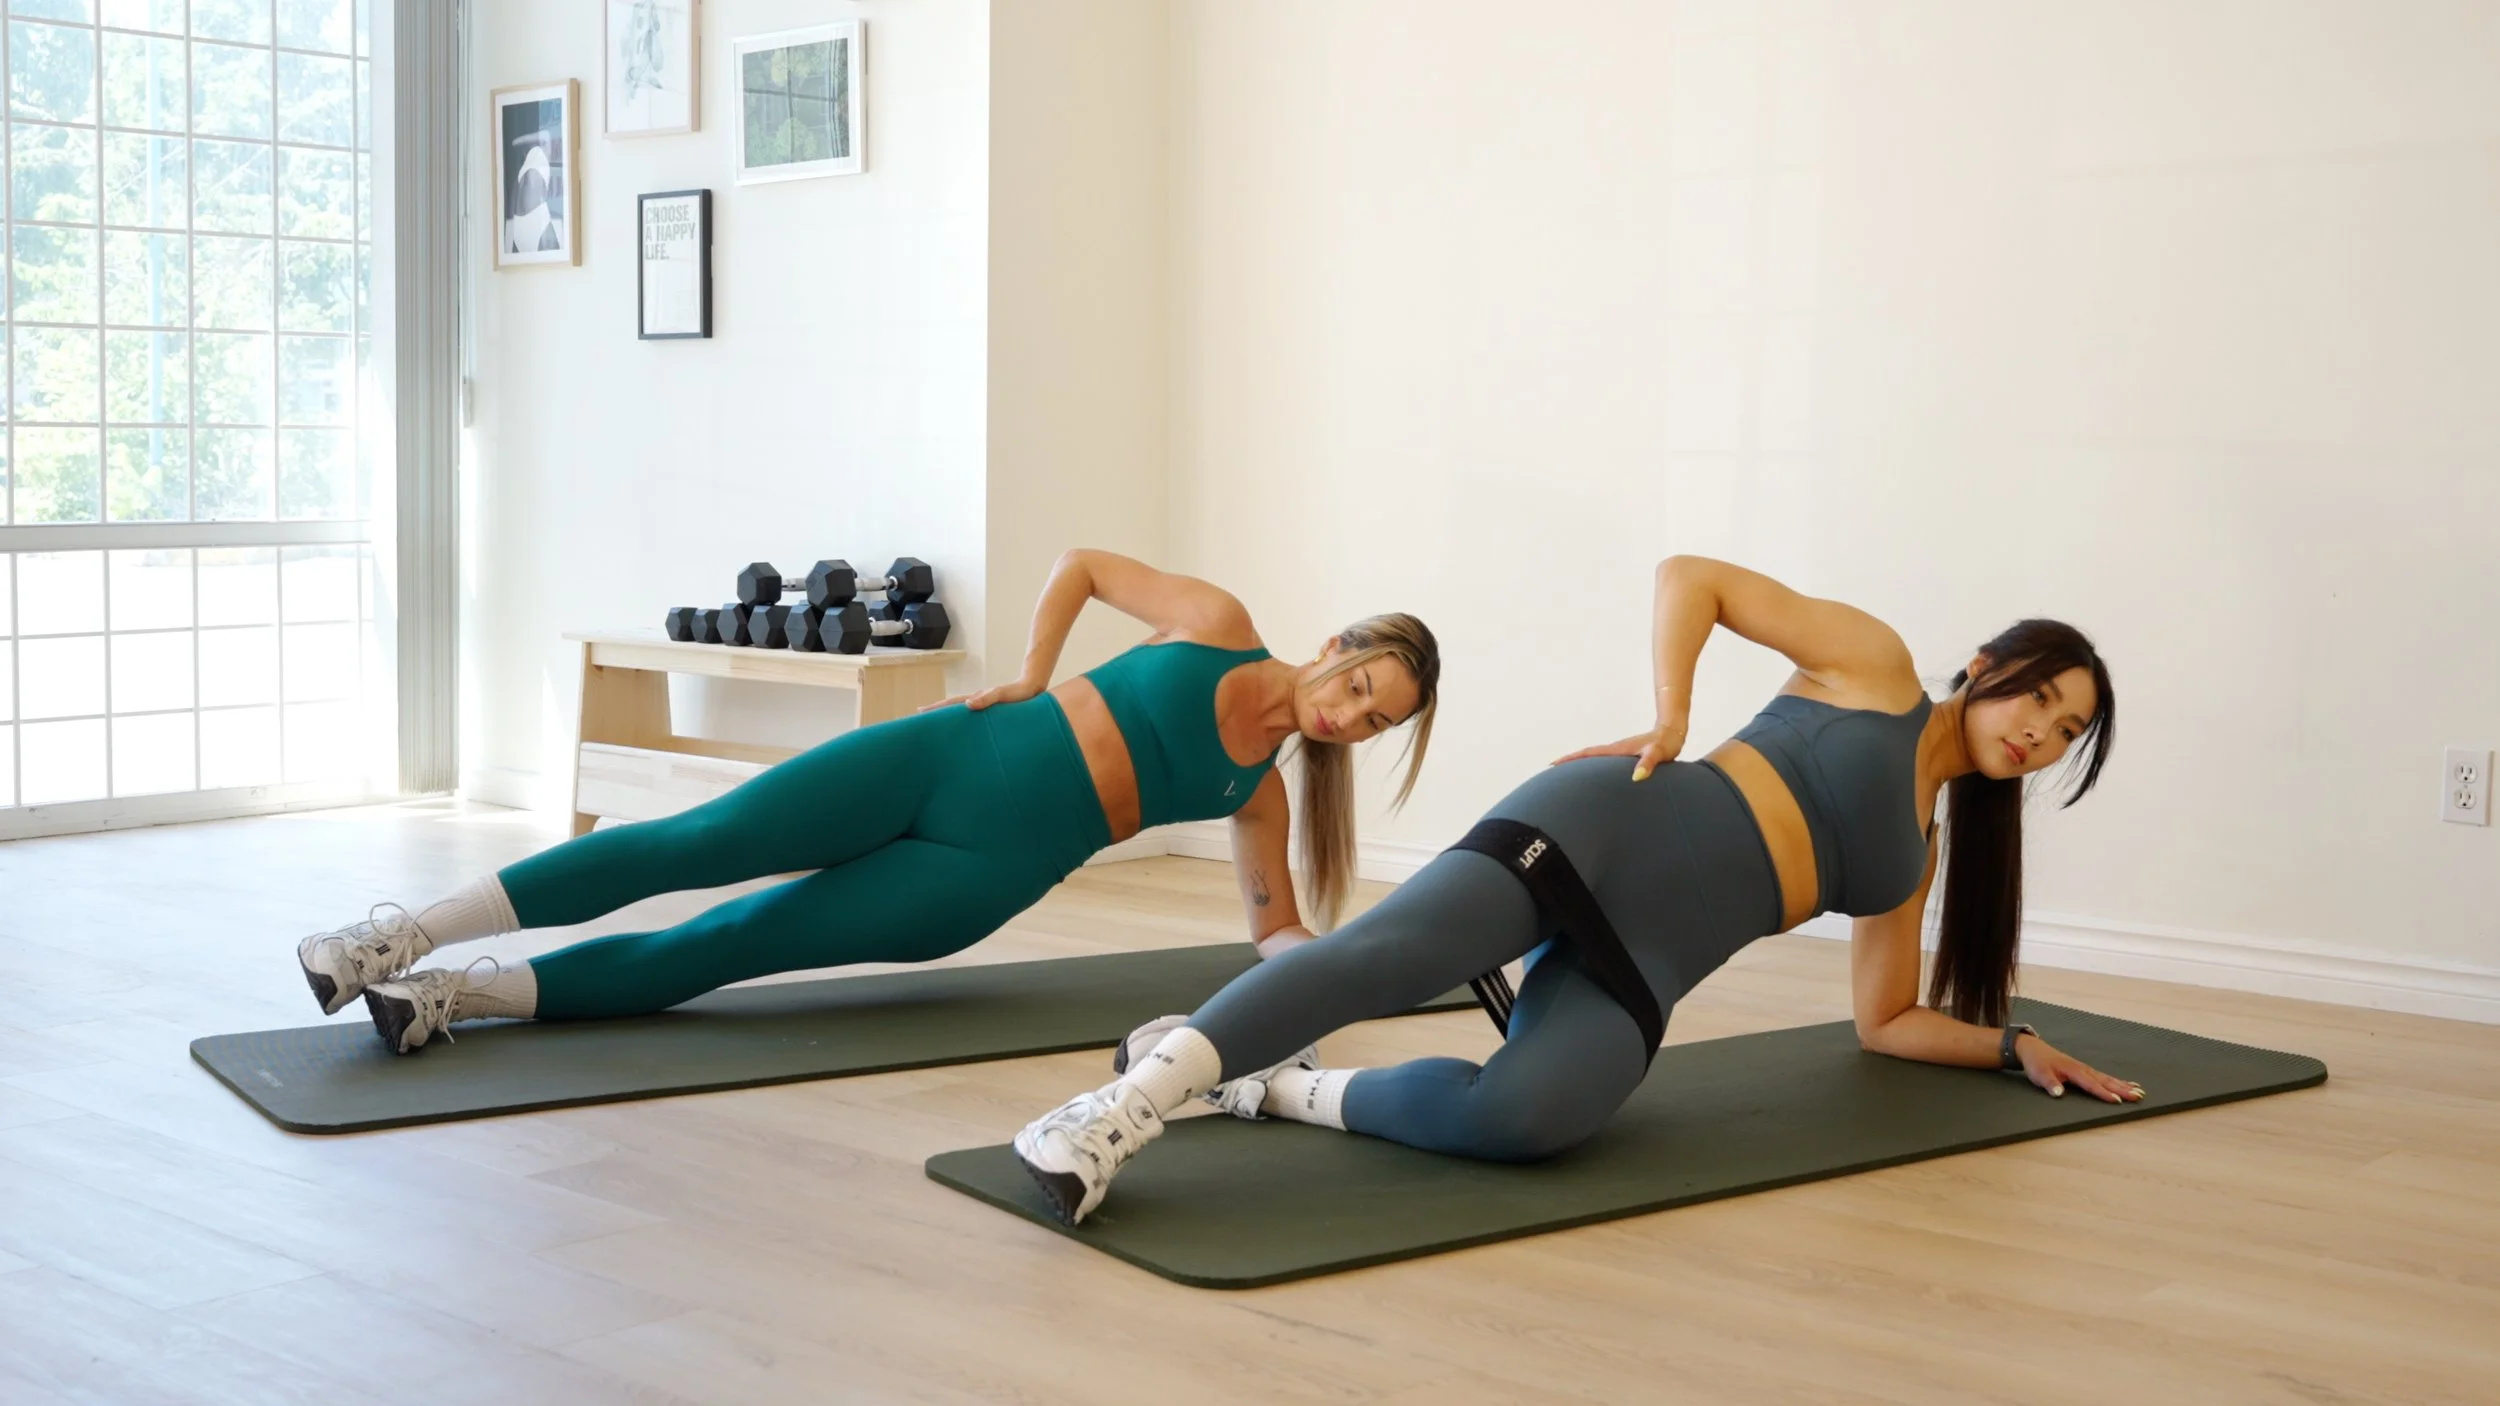
5) Lateral Band Walk (Mini Band)
If your knees cave inward during squats or stairs, you’re not alone. Often the issue is not the knee; it’s the hips failing to stabilize. Lateral band walks train the muscles that keep your pelvis and femur aligned — the ones that help your knee track more comfortably.
How to do it
- Place a mini band above knees (easier) or around ankles (harder).
- Slight bend in knees and hips — a mini athletic stance.
- Keep feet pointing forward.
- Step sideways with control: step, then bring the trailing foot in without letting the band go slack.
- Take 8–12 steps each direction.
Why it tends to be knee-friendly
You’re training hip stabilizers with small, controlled motions — little knee load, big payoff for alignment.
Cues that usually help
- “Stay low, stay quiet.”
- “No rocking side to side.”
- “Keep pressure on the outside hips.”
Sets and reps
- 2–3 rounds of 8–12 steps each way
6) Banded Clamshell (Mini Band)
The clamshell has been mocked for looking too easy. And it can be easy — until you do it correctly, slowly, and with enough band resistance to matter.
It’s a small movement that teaches the side glutes to fire without knee strain.
How to do it
- Lie on your side, knees bent, hips stacked.
- Place a mini band above your knees.
- Keep feet together, then open the top knee like a clamshell.
- Pause at the top for a beat; lower slowly.
Why it tends to be knee-friendly
The knee moves, but it’s unloaded and supported. The work is in the hip.
Common mistake
Rolling backward to cheat range. If your pelvis rotates, the glute stops working and your lower back does the talking.
Sets and reps
- 2–3 sets of 12–20 reps per side
- Prioritize control over range
7) Banded Standing Hip Abduction (Mini Band) or Cable-Style Side Kick (Long Band)
Standing hip work is underrated because it looks simple. But it reinforces stability in a position that resembles walking, stair climbing, and running — all activities where knee discomfort tends to appear.
Option A: Mini band around ankles
- Band around ankles, stand tall holding onto a wall for balance.
- Shift weight to one leg.
- Move the free leg out to the side a small distance.
- Return slowly without letting the band snap you back.
Option B: Long band anchored low (if you have an anchor)
- Anchor a long band low to something sturdy.
- Loop it around your ankle.
- Stand sideways to the anchor and move the leg away from it.
Why it tends to be knee-friendly
It loads hip stabilizers directly with minimal knee bending.
Sets and reps
- 2–3 sets of 10–15 reps per side
- Slow on the way back
8) Banded Box Squat to a Chair (Mini Band + Optional Long Band Support)
Squats aren’t inherently “bad for knees.” But deep squats with poor control — or too much volume too soon — can irritate sensitive knees. A box squat to a chair changes the conversation: it provides a target, encourages a controlled descent, and allows you to choose a knee-friendly depth.
This is the only squat pattern on the list, and it’s here because many people want a squat-adjacent movement that doesn’t feel like a gamble.
How to do it (knee-friendlier version)
- Place a chair or bench behind you at a height that feels comfortable.
- Put a mini band above your knees.
- Stand with feet about shoulder-width, toes slightly out if that feels natural.
- Brace. Sit back toward the chair as if reaching your hips behind you.
- Tap the chair lightly (don’t collapse), then stand up by driving through midfoot and squeezing glutes.
Why it tends to be knee-friendly
- You control depth.
- You can keep shins more vertical, shifting load to hips.
- The chair reduces fear and improves consistency.
Make it even more knee-friendly
- Use a higher seat at first.
- Keep range smaller.
- Slow down the lowering phase.
Sets and reps
- 3 sets of 8–12 reps
A Knee-Friendly Band Workout (30–40 Minutes)
Do this 2–3 times per week, with at least a day between sessions.
Warm-up (5–8 minutes)
- 1 minute easy marching or brisk walk
- 10 bodyweight hip hinges (hands on hips, practice the pattern)
- 10 glute bridges (no band)
- 8 chair sit-to-stands (easy, controlled)
Workout
- Banded Hip Thrust — 3 x 10–12
- Banded Romanian Deadlift — 3 x 10–15
- Lateral Band Walk — 2 x 10 steps each way
- Banded Box Squat to Chair — 3 x 8–12
- Clamshell — 2 x 15–20 per side
- Standing Hip Abduction — 2 x 12–15 per side
Optional finisher (if it feels good, not punishing)
- Glute Bridge hold — 2 x 20–30 seconds
Rest 45–90 seconds between sets. If your form slips, rest more — that’s not failure; it’s training intelligently.
The “Don’t Hurt Your Knees” Details People Miss
These are small choices that often make the difference between “this feels great” and “why is my knee mad again?”
Keep the foot honest
Aim for a tripod foot: big toe mound, little toe mound, heel. If your foot collapses inward, the knee often follows.
Let the knee track naturally
Knees don’t need to be frozen. They just need to move in a way that’s consistent with your foot and hip. A useful cue: knee points roughly where the toes point (not perfectly, but generally).
Don’t chase depth as a virtue
Depth is a tool, not a moral achievement. If you can’t control it, it’s not helping you yet.
Scale the band like you’d scale weight
Too light and you won’t get much stimulus. Too heavy and you’ll compensate — with your low back, your hip flexors, or your knees. The “right” band is the one that makes the last few reps challenging without turning the movement into a wrestling match.
Respect soreness vs. pain
Muscle soreness can be normal, especially when you’re new or returning. Joint pain that’s sharp, escalating, or lingering is a different category. Treat it differently.
Progression Without Drama
Progress is not always adding more. Often it’s adding slightly better.
Try one progression lever at a time:
- Add 1–2 reps per set
- Add a set (from 2 to 3)
- Increase band tension slightly
- Slow the lowering phase by 1–2 seconds
- Add a pause at the hardest point
If you change everything at once, you won’t know what worked — or what caused a flare-up.
If You’re Still Getting Knee Discomfort
A few practical modifications:
- Replace the box squat with more bridges/thrusts for a couple weeks.
- Keep the hinge movements and hip stabilizers; they often help the knee indirectly.
- Reduce total volume (fewer sets) and rebuild gradually.
- Shorten your range of motion on anything that provokes symptoms.
- Consider your daily life load: long sitting, lots of stairs, sudden increases in walking — it all counts.
And again: if you have swelling, instability, catching/locking, or pain that doesn’t improve, it’s worth getting it assessed.
The Quiet Promise of Band Training
Bands are sometimes dismissed as “not real strength training.” This is usually said by someone who has never done slow, controlled banded hinges and hip work with honest tension, and then tried to walk up stairs the next day with a calm face.
The point isn’t to choose bands forever. The point is to build capacity — in glutes that can extend the hip, in hips that can stabilize the knee, in hamstrings that can share the load, in movement patterns that feel repeatable rather than risky.
Knee-friendly training isn’t about avoiding challenge. It’s about choosing the kind of challenge your body can actually respond to — the kind that builds confidence instead of collecting grievances.
You don’t need to win leg day. You just need to keep showing up to it. Bands, used well, can help you do exactly that.


 Sign In