

If you’re new to exercise, the hardest part usually isn’t willpower. It’s translation.
A trainer says, “Engage your core,” and you nod like you understand, even though “core” feels like a vague neighborhood somewhere between your ribs and your self-esteem. Someone tells you to “hinge at the hips,” and suddenly you’re thinking about doors.
This is why beginners often get hurt — or simply get discouraged. They’re asked to perform complex movements before they’ve learned the grammar of motion. The body, like language, has basics: how to brace, how to breathe, how to stack joints, how to control a descent instead of collapsing into it.
The good news is that you don’t need equipment or an aggressive “no excuses” playlist to learn that grammar. You need a short list of exercises that teach form first — movements that are hard to do incorrectly when performed at a reasonable pace, and that quietly build the habits that make everything else safer and stronger.
Below are seven bodyweight exercises that do exactly that. They’re not flashy. They don’t require a gym. And they have a way of making the rest of fitness feel less like a foreign country.
Before You Start: Two Rules That Make Everything Better
Rule 1: Slow is a superpower.
For beginners, speed hides mistakes. A controlled tempo reveals them — and then fixes them.
Rule 2: Your goal is “clean reps,” not exhaustion.
Stop a set when form starts to fray. You’re practicing movement quality, not proving toughness.
(And yes: if you have pain, dizziness, or a medical condition that changes your risk, it’s smart to check with a clinician or a qualified trainer.)
1) The Sit-to-Stand Squat (Box Squat)
What it teaches: squatting mechanics, knee tracking, balance, and control
Why it’s beginner-friendly: the chair gives you a clear depth target and prevents “guessing”
The squat is a daily-life skill disguised as exercise: sitting down and standing up. Done well, it trains your legs and hips while teaching you to keep your torso stable — the difference between “strong” and “wobbly strong.”
How to do it
- Place a sturdy chair behind you. Stand with feet about shoulder-width apart.
- Reach your arms forward slightly for balance.
- Inhale. Begin to sit back and down, as if you’re trying to tap the chair with your hips.
- Lightly touch the chair — don’t collapse into it — then stand back up, exhaling as you rise.
- Keep your whole foot on the floor: heel, big toe, little toe.
Form cues that actually work
- “Tripod foot”: press heel + big toe + little toe evenly.
- “Knees follow toes”: your knees can move forward, but avoid letting them cave inward.
- “Ribs over hips”: don’t flare your ribs or over-arch your lower back.
Common mistakes
- Dropping into the chair (loses control)
- Knees collapsing inward
- Shifting weight to toes (heels lifting)
Make it easier
- Use a higher chair or stack a cushion.
- Hold onto a countertop lightly.
Make it harder
- Use a lower chair.
- Pause for 2 seconds hovering above the chair before standing.
2) The Glute Bridge
What it teaches: hip extension, glute activation, pelvic control
Why it’s beginner-friendly: you’re on the floor, so balance is removed from the equation
Many beginners try to “work legs” and end up using their lower back for everything. The glute bridge teaches the hips to do their job — extending powerfully while the spine stays calm.
How to do it
- Lie on your back with knees bent, feet flat, heels a comfortable distance from your hips.
- Place arms at your sides, palms down.
- Inhale. As you exhale, squeeze your glutes and lift your hips until your body forms a straight line from shoulders to knees.
- Pause for one second at the top.
- Lower slowly — like you’re setting something fragile down.
Form cues
- “Ribs down”: keep your ribcage from flaring up.
- “Tuck slightly”: imagine gently zipping your pelvis toward your ribs (small posterior tilt).
- “Drive through heels”: feel hamstrings and glutes, not your lower back.
Common mistakes
- Overarching at the top (turns it into a back extension)
- Feet too far away (hamstrings cramp) or too close (quads dominate)
- Rushing the lowering phase
Make it easier
- Reduce range of motion; lift only partway.
- Hold the top for shorter time.
Make it harder
- Single-leg bridge (start slowly).
- Add a 3-second lowering phase.
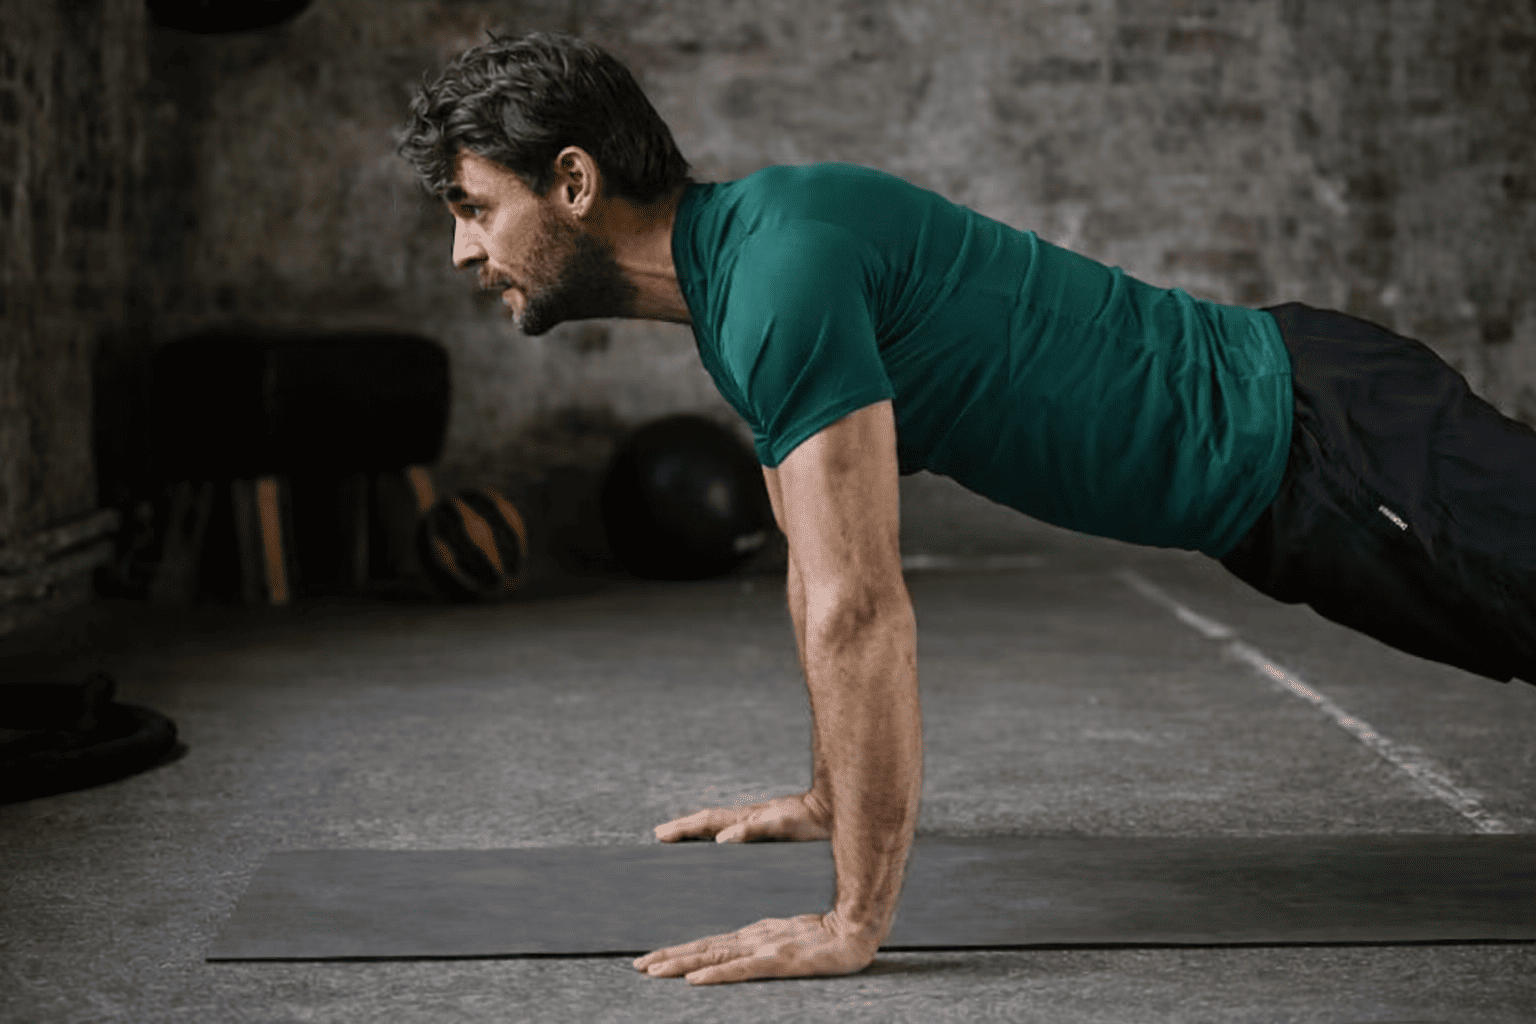
3) The Wall Push-Up (Progressing to Incline)
What it teaches: pushing mechanics, shoulder positioning, full-body tension
Why it’s beginner-friendly: it’s a push-up without the panic
A push-up isn’t just arms. It’s a moving plank: shoulders, ribs, hips, and legs working as one unit. The wall version lets you learn the “one unit” part without face-plant risk.
How to do it
- Stand facing a wall. Place hands on the wall at shoulder height and width.
- Walk feet back so your body forms a straight line from head to heels.
- Inhale as you bend elbows and bring your chest toward the wall.
- Exhale as you push the wall away, returning to start.
Form cues
- “Body like a board”: no sagging hips, no piking.
- “Elbows at 30–45 degrees”: not flared straight out, not glued to your ribs.
- “Shoulders down and wide”: avoid shrugging toward ears.
Common mistakes
- Leading with the head (neck craning)
- Hips drifting forward first (worming)
- Hands too high/too low causing shoulder discomfort
Progression
- Move to an incline push-up with hands on a sturdy counter, bench, or table.
- Then lower the incline gradually over weeks.
4) The Dead Bug
What it teaches: core bracing, rib control, coordination
Why it’s beginner-friendly: it’s challenging without being punishing
“Core” work often becomes a contest of how much you can bend your spine. The dead bug is the opposite: your goal is to keep your torso steady while your limbs move — a skill that protects your back in everything from squats to carrying groceries.
How to do it
- Lie on your back. Bring knees up to 90 degrees, arms straight above shoulders.
- Exhale and gently flatten your lower back toward the floor (not by smashing — by bracing).
- Slowly extend your right leg forward while lowering your left arm overhead.
- Move only as far as you can without your lower back arching.
- Return to start and switch sides.
Form cues
- “Exhale first”: it helps your ribs come down and your abs engage.
- “Lower back stays heavy”: no arching.
- “Slow enough to feel it”: if you’re swinging, it’s too fast.
Common mistakes
- Letting the back arch (most common)
- Moving too far too soon
- Holding breath until you turn purple
Make it easier
- Move only the arms or only the legs.
- Tap heel to the floor instead of fully extending.
Make it harder
- Extend both legs further (carefully).
- Add a brief pause at the farthest point.
5) The Bird Dog
What it teaches: spinal stability, glute engagement, shoulder control
Why it’s beginner-friendly: it trains balance and control without impact
The bird dog looks modest. It’s also one of the clearest tests of whether your body can stabilize while moving — which is the definition of athleticism, and also of not throwing out your back while twisting to grab a bag from the back seat.
How to do it
- Start on hands and knees: wrists under shoulders, knees under hips.
- Brace your core gently, keeping your spine neutral.
- Reach your right arm forward and your left leg back.
- Keep hips square to the floor — don’t open to the side.
- Return slowly and switch.
Form cues
- “Balance a glass of water on your back”: minimize wobble.
- “Reach long, not high”: length matters more than height.
- “Hips stay headlights-forward”: both hip bones point down.
Common mistakes
- Overarching the lower back
- Rotating hips outward
- Lifting limbs too high, losing stability
Make it easier
- Move only the arms or only the legs.
- Slide toes along the floor instead of lifting.
Make it harder
- Pause for 3 seconds at full extension.
- Draw elbow to knee under your body without rounding your back excessively.
6) The Reverse Lunge (or Split Squat Hold)
What it teaches: single-leg strength, knee alignment, balance
Why it’s beginner-friendly: stepping back is often kinder to knees than stepping forward
Lunges show you where your body cheats. One side wobbles, the other side dominates, and your hips reveal their opinions loudly. That’s not a flaw — that’s information.
How to do it (Reverse Lunge)
- Stand tall with feet hip-width apart.
- Step your right foot back and lower into a lunge.
- Front knee tracks over toes; back knee moves toward the floor.
- Push through the front foot to return to standing.
- Alternate sides.
Form cues
- “Drop straight down”: imagine an elevator, not a diagonal slide.
- “Front heel stays planted.”
- “Tall chest, soft ribs”: don’t flare.
Common mistakes
- Front knee collapsing inward
- Leaning forward excessively
- Pushing off the back foot instead of the front
If balance is tricky: Split Squat Hold
- Take a staggered stance and simply hold the lowered position for 10–20 seconds, using a wall or chair for support.
Make it easier
- Shorter range of motion.
- Hold onto a countertop lightly.
Make it harder
- Slow 3-second lowering.
- Add a 1-second pause at the bottom.
7) The Forearm Plank (Elevated if Needed)
What it teaches: full-body bracing, shoulder stability, breathing under tension
Why it’s beginner-friendly: it rewards proper alignment immediately
Planks have been memed into a test of suffering. But their real purpose is subtler: learning to keep your torso stable while you breathe — an underrated skill that supports nearly every other movement.
How to do it
- Place forearms on the floor, elbows under shoulders.
- Step feet back until your body forms a straight line.
- Squeeze glutes gently, brace your abs, and keep ribs from flaring.
- Breathe slowly through the nose if possible.
Form cues
- “Zip up your front”: imagine tightening a corset from hip bones to ribs.
- “Glutes on”: prevents low-back sag.
- “Push the floor away”: shoulders stable, not collapsing.
Common mistakes
- Hips sagging (lower back takes over)
- Hips too high (turns into a resting pose)
- Holding breath (creates tension without control)
Make it easier
- Do an elevated plank with forearms on a bench or hands on a wall.
- Drop knees to the floor while keeping a straight line from head to knees.
Make it harder
- Side plank variations (when you’re ready).
- Longer holds only if form stays crisp.
A Simple “Form-First” Beginner Routine
Do this 2–3 times per week, leaving at least a day between sessions.
Warm-up (3–5 minutes)
- Easy walk in place
- Arm circles
- Hip circles
- A few slow sit-to-stands
Main circuit (2–3 rounds)
- Sit-to-Stand Squat: 6–10 reps
- Glute Bridge: 8–12 reps
- Wall or Incline Push-Up: 6–10 reps
- Dead Bug: 5–8 reps per side
- Bird Dog: 5–8 reps per side
- Reverse Lunge or Split Squat Hold: 6 reps per side or 15 seconds per side
- Forearm Plank: 15–30 seconds (or elevated plank)
Rest: 30–75 seconds between exercises, longer if you need it.
Tempo suggestion: 2 seconds down, 1 second pause, 1 second up.
How to Know You’re Getting Stronger (Without Guessing)
Beginners often look for proof in soreness. But soreness is a messy narrator. Better signals:
- You can keep your ribs stacked over hips in the plank while breathing normally.
- Your squat looks smoother and quieter — fewer wobbles, less crashing into the chair.
- You can lower more slowly in the push-up without losing your “board” position.
- Lunges stop feeling like a balance drill and start feeling like leg work.
Progress, in this stage, looks like control.
And control is underrated because it doesn’t make noise.
It doesn’t shout. It doesn’t brag. It’s not the montage in the movie — it’s the part where the main character learns how to stand correctly before the big scene. But control is what allows you to do more later: heavier weights, faster runs, longer hikes, harder classes, and, if you want them, the satisfying spectacle of sweating through a shirt.
Form-first training is not a detour. It’s the foundation.
And for a beginner, a foundation is everything.
Important notice: this content is educational and does not replace an individual evaluation. If you have a history of eating disorders, diabetes, pregnancy, or a medical condition, consult a healthcare professional before making dietary or exercise changes.


 Sign In