

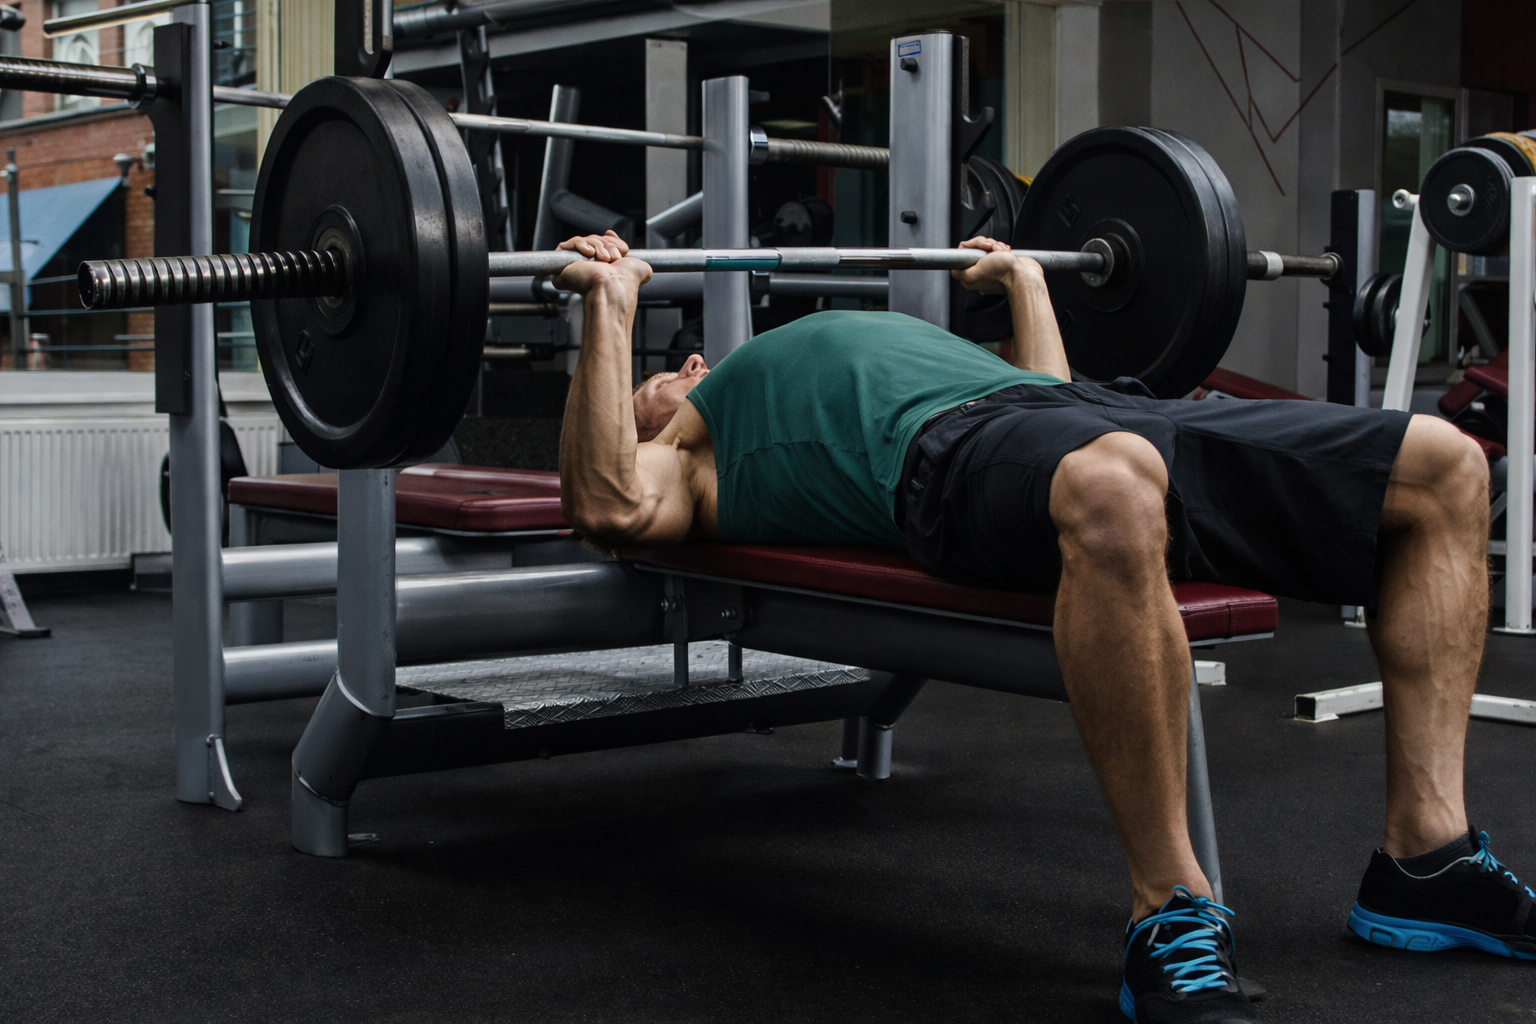
The bench press has a reputation for simplicity. Lie down. Grab the bar. Push it up. Repeat until your chest hurts and your ego feels either soothed or threatened.
And yet it’s one of those lifts where small details—almost invisible ones—change everything: how strong you feel, how stable the bar moves, whether your shoulders cooperate, whether the same weight feels heavy for weeks and then suddenly feels like it belongs to someone else.
Most people don’t need a dramatic reinvention of their bench press. They need a few tweaks: the kind that look minor from the outside, but change the way force travels through the body. The good news is that these tweaks are learnable, and they don’t require fancy equipment—just a little attention and patience.
Below are six bench press adjustments that reliably help people press more weight, more safely, and with less wasted effort. They’re written for the recreational lifter and the serious gym-goer alike: someone who wants to get stronger without turning their shoulders into a long-term project.
Quick safety note: If you bench heavy, use a spotter or safety pins when possible. Pain in the shoulder, elbow, or wrist that feels sharp or persistent is not “normal bench pain.” It’s a signal to adjust, regress, or seek professional input.
1) Set your upper back like it’s the foundation, not a suggestion
If you want a stronger bench, start by thinking less about your chest and more about your upper back.
A stable upper back gives you a platform to press from. Without it, your shoulders drift forward, your range of motion gets sloppy, and your pressing muscles end up doing the job of stabilization too. Strength leaks out in the process.
The tweak: “Pin” your shoulder blades down and back—then keep them there.
This isn’t an aggressive squeeze that makes your neck tense. It’s a deliberate placement: shoulder blades pulled slightly toward your back pockets and gently together, creating a firm base on the bench.
How it should feel:
- Your chest rises slightly
- Your shoulders feel more “tucked” and secure
- The bar path starts to feel more predictable
A simple setup cue:
- Before unracking, imagine you’re trying to bend the bench by pulling it toward your hips with your shoulder blades.
Common mistake: squeezing shoulder blades together so hard you lose rib position and start compensating elsewhere. Think “stable,” not “cramped.”
2) Use leg drive the right way—quietly, consistently, and without sliding
Leg drive is one of the most misunderstood bench press concepts. People hear “drive with your legs” and do one of two things:
- They don’t use their legs at all, benching like a mannequin.
- They kick hard and bounce their hips, turning the lift into a suspicious interpretive dance.
Leg drive isn’t about explosive kicking. It’s about using your lower body to create full-body tension, so your press is supported from the ground up.
The tweak: Push your feet into the floor as if you’re trying to slide your body up the bench—but don’t actually move.
That “almost movement” creates tension through your legs, glutes, and torso.
Setup checklist:
- Feet planted firmly (flat or on toes depending on your mobility and rules)
- Knees roughly below or slightly behind hips
- Glutes tight, but butt stays on the bench
- Pressure through heels (or full foot) during the press
Timing cue: Start building leg drive before you unrack, and keep it through the entire rep. The best leg drive looks boring.
3) Fix your grip: wrists stacked, bar low in the palm, and hands doing more than holding
A surprising number of bench press plateaus are really grip and wrist problems in disguise.
If your wrists are bent way back, you’re leaking force and asking your forearms to work overtime just to keep the bar stable. That instability travels up into the elbow and shoulder.
The tweak: Stack your wrists over your forearms and place the bar lower in your palm.
You want the bar sitting over the heel of your hand, not floating up toward your fingers.
What to look for:
- Knuckles roughly pointing toward the ceiling (not back toward your face)
- Forearms vertical when the bar touches your chest
- Even pressure across both hands
Extra credit: Try “breaking the bar.”
This is a cue where you squeeze the bar hard and imagine you’re trying to rotate your hands outward (without actually moving them). It helps engage the lats and creates shoulder stability.
Common mistake: going too wide too soon. A grip that’s excessively wide can shorten range of motion, but it often costs shoulder comfort and control. Strong benching is controlled benching.
4) Make your bar path smarter: down and slightly forward, then up and back
The bar path on a good bench press is not straight up and down. It’s more like a subtle diagonal: the bar touches lower on the chest and finishes over the shoulder joint.
When people miss heavy reps, it’s often because the bar drifts out of its strongest groove. The press turns into a shaky, inefficient fight.
The tweak: Touch lower, press back toward your face.
Not dramatically—this isn’t a wild arc. It’s a controlled path that keeps the bar stacked over the joints that can support it.
Landmarks that help:
- Touch point: lower chest/upper sternum area (varies by anatomy)
- Finish: bar over shoulders, elbows locked out with control
Cue that works: “Row it down, press it back.”
The descent should feel controlled, almost like a row: lats engaged, bar not crashing. Then the press drives back into the strongest line.
Common mistake: touching too high and flaring elbows, which often irritates shoulders and weakens the press off the chest.
5) Learn to “meet the bar” on the way down—control is not optional
Many lifters treat the lowering phase as a formality, as if the rep begins only when the bar is on the chest. But the eccentric (lowering) portion is where you set your positions: shoulder stability, touch point, tension, and rhythm.
A chaotic descent is a chaotic press.
The tweak: Lower the bar with intent and a consistent tempo.
Think of the descent as a controlled handoff into a stable touch point. You’re not collapsing into the bottom. You’re arriving there.
A practical tempo:
- 2 seconds down (controlled)
- brief pause on the chest (even a half-second counts)
- press with speed and control
Pauses are especially useful if you tend to bounce. They also build real strength off the chest—because they remove the “free” rebound.
Common mistake: bouncing the bar or letting it sink into the chest. That’s not power; it’s a shortcut that can punish shoulders.
6) Treat your weak point like a solvable problem (with the right accessories)
If your bench stalls, it’s usually stalling in a predictable place:
- Off the chest: you lose tightness, or pecs and positioning are the limiter
- Mid-range: triceps and bar path often matter
- Lockout: triceps strength and maintaining tightness
The mistake is random “more benching” without addressing the reason the rep slows down.
The tweak: Use one or two accessories that match your weak point—and keep them for 4–6 weeks.
Not ten accessories. Not chaos. Just targeted support.
If you struggle off the chest:
- Paused bench (even light, controlled pauses)
- Dumbbell bench press (helps stability and control)
- Spoto press (hover just above chest)
If you struggle mid-range:
- Close-grip bench (more triceps emphasis)
- Tempo bench (forces control and positioning)
If you struggle at lockout:
- Triceps extensions (choose a shoulder-friendly variation)
- Board press or pin press (if you have equipment/safety)
The point is to train the segment of the lift that’s failing, not just repeat the failure until it becomes familiar.
Put it into practice: a simple bench day that builds strength
If you want something straightforward, here’s a bench-focused session you can run once or twice a week.
Bench Press (main lift)
- Warm-up sets building to your working weight
- 5 sets of 3–5 reps at a challenging but clean weight
Rest 2–3 minutes between sets.
Focus: identical reps. Same setup. Same touch point.
Supplemental Bench Variation
Pick one based on your weak point:
- Paused bench: 3 sets of 4–6
- Close-grip bench: 3 sets of 6–8
- Dumbbell press: 3 sets of 8–10
Upper Back Support (non-negotiable)
- One-arm dumbbell row or chest-supported row: 3–4 sets of 8–12
Triceps (finish)
- Triceps pressdowns or overhead extensions: 2–3 sets of 10–15
This isn’t glamorous. It’s effective.
A few small fixes that matter more than people want to admit
Don’t max out all the time.
You get stronger from quality training, not from weekly auditions.
Don’t ignore your upper back.
If your shoulders feel cranky, your back work may be too low.
Film one set.
Not for content. For information. Bar path and setup issues become obvious on video.
Respect recovery.
Bench responds well to frequency, but only if you can recover. Sleep and food aren’t motivational poster material—they’re the infrastructure.
The bottom line
The bench press is simple in the way a door is simple: it swings, it closes, it opens. But if the hinges aren’t aligned, if the frame is crooked, if the screws are loose—everything feels harder than it should.
These six tweaks are the “hinge alignment” of your bench. None of them are dramatic. All of them add up.
Get tight. Use your legs with restraint. Stack your wrists. Control the descent. Press in a smarter line. And train your weak point like it’s a problem you can actually solve—because it is.
Important notice: this content is educational and does not replace an individual evaluation. If you have a history of eating disorders, diabetes, pregnancy, or a medical condition, consult a healthcare professional before making dietary or exercise changes.


 Sign In