

Back pain has a way of shrinking a life.
It turns an ordinary day into a series of negotiations: how you get out of bed, how you sit, how you pick up a bag, how you bend down to tie a shoe. And because back pain is so common, it’s easy to fall into two unhelpful stories about it. The first is that you should “push through.” The second is that you should stop moving entirely, as if your spine were made of thin glass.
Yoga often enters this conversation as a promise—sometimes a sincere one, sometimes a glossy one. There is evidence that yoga can help chronic, non-specific low back pain, though the effects are typically modest and not magical. The bigger point is simpler: many people feel better when they move in ways that are gentle, consistent, and attentive.
The problem is that “yoga for back pain” is frequently treated like a fixed recipe. Do these poses. Hold for this many breaths. Repeat. But backs are not identical. And back pain is not a single thing. What helps one person can aggravate another. Even your own back can want different things on different days.
So here’s a more useful approach—one that begins not with a pose, but with a question.
One honest question: What is my back asking for today—more movement, or more protection?
That question is not poetic. It is practical. It helps you choose the right kind of practice: one that creates space when you’re stiff, one that builds support when you’re wobbly, one that calms your nervous system when your pain is amplified by stress and bracing.
Below are five yoga sequences for back pain. Each starts with an honest question, and each is designed to be adaptable—because adaptability, more than intensity, is what makes yoga useful when your back feels unpredictable.
Before we begin, two important notes.
When yoga is not the right first step
Most back pain is not dangerous and tends to improve with time and gentle activity. But some symptoms are “red flags” that should be evaluated urgently—especially if you have new trouble controlling bladder or bowel function, numbness around the genitals/buttocks (“saddle” numbness), significant weakness, fever, severe trauma, or unexplained weight loss. If any of that applies, skip the sequences and seek medical care.
How to use these sequences safely
- Keep your effort at a 3–6 out of 10. You should feel relief, warmth, or gentle challenge, not sharp pain.
- Pain that spreads, spikes, or lingers after practice is a sign to modify or stop.
- Use props shamelessly: pillows, folded towels, blocks, a chair.
- If you have chronic pain, sciatica, osteoporosis, a recent injury, or you’re unsure what your back can tolerate, consider a class designed for back pain or guidance from a clinician or a qualified instructor.
Now, the sequences.
Sequence 1: For Stiffness After Sitting
Honest question: Do I feel stuck—or guarded?
When it helps: your back feels tight, compressed, or “rusty,” especially after long periods of sitting
Goal: create space through gentle mobility and supported extension (without forcing big stretches)
Time: 8–12 minutes
Props: optional pillow or folded blanket
1) Constructive Rest (1 minute)
Lie on your back with knees bent, feet on the floor, hip-width apart. Let your ribs soften. Place a hand on your belly and notice your breath.
Why it’s here: It reduces the “bracing” many people do unconsciously—tight jaw, tight shoulders, tight low back.
2) Pelvic Tilts (8–10 slow reps)
Still on your back, gently rock your pelvis: flatten your lower back toward the floor, then release.
Keep it small. This is not an ab exercise. It’s a conversation with your spine.
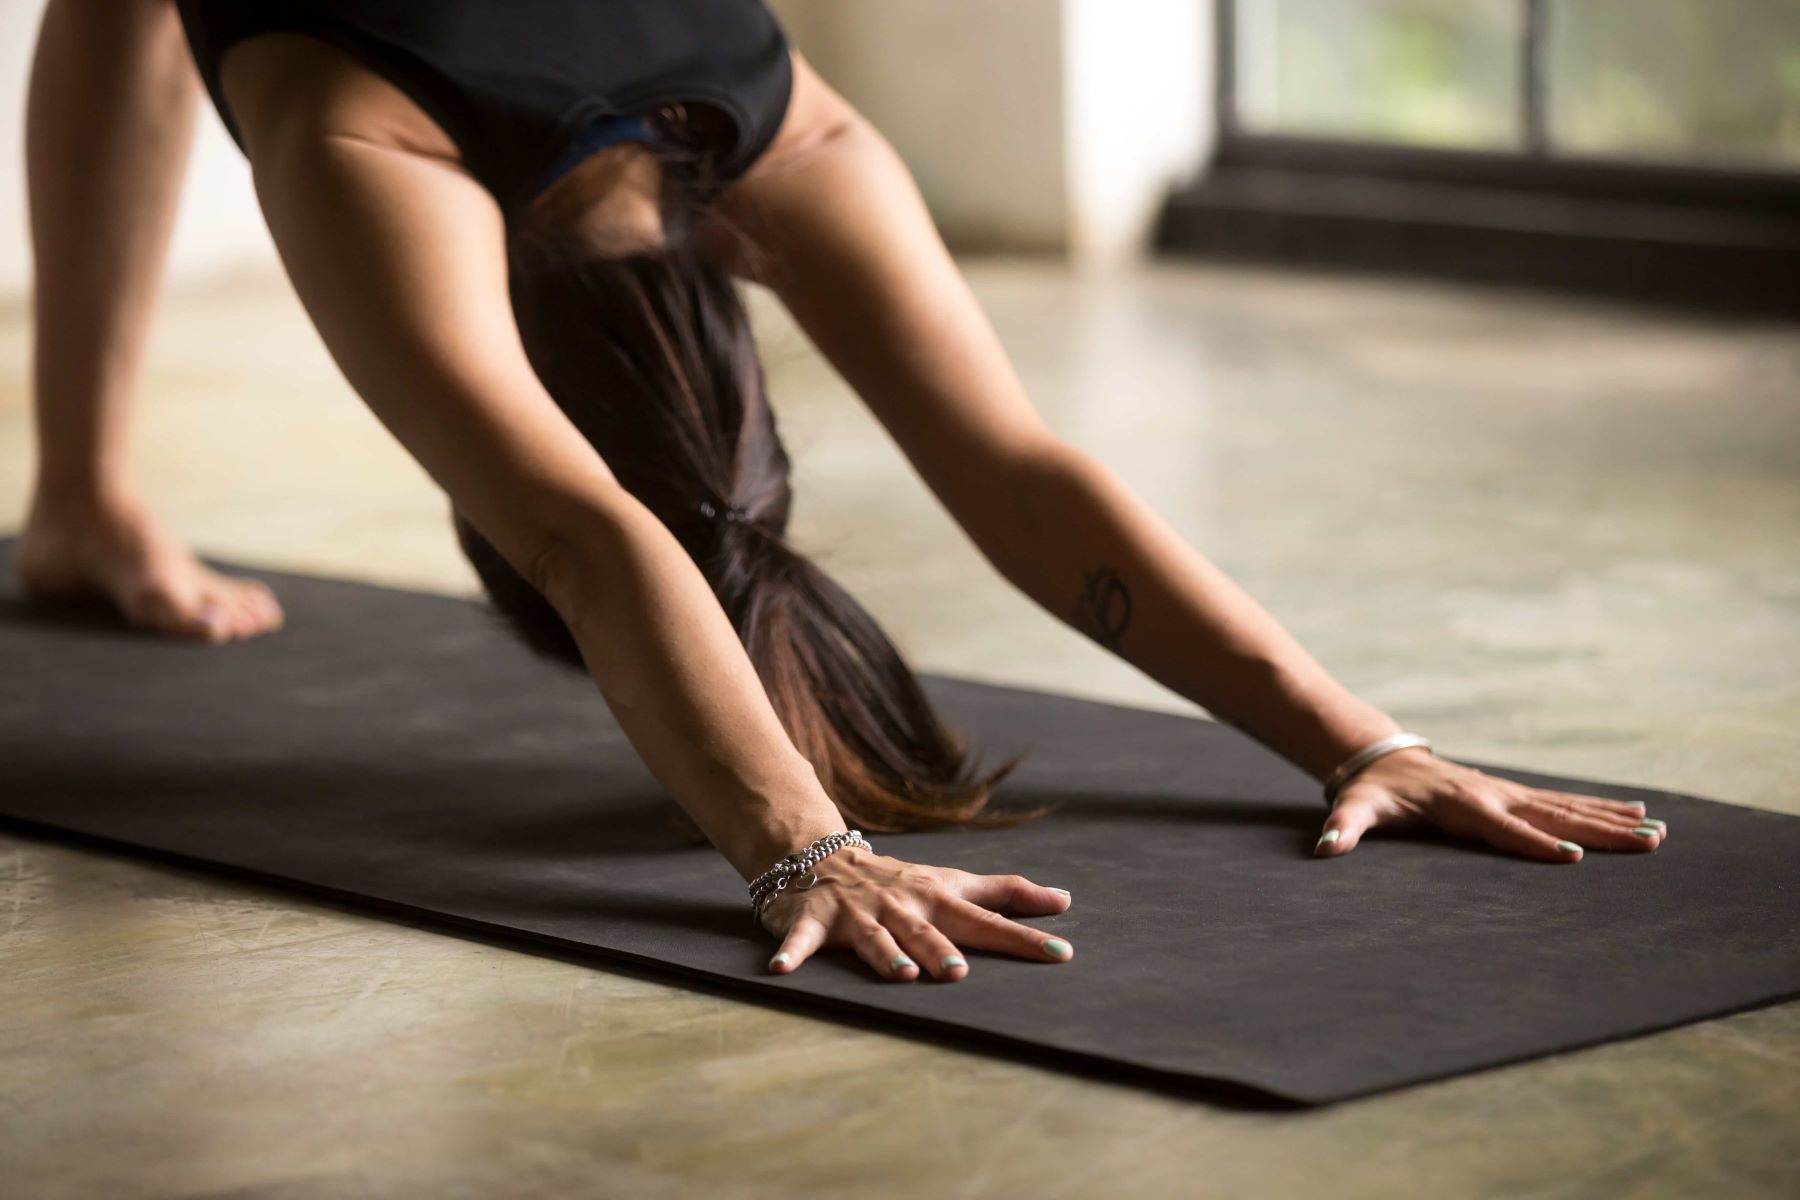
3) Cat–Cow (6–8 slow cycles)
Come to hands and knees. Inhale, lift your chest and tailbone slightly (cow). Exhale, round gently (cat). Move like you’re oiling a hinge, not trying to win flexibility.
Modification: If wrists complain, come onto fists or forearms.
4) Thread-the-Needle (3–4 breaths each side)
From hands and knees, slide one arm underneath the other and lower your shoulder and head. Breathe into the back of your ribs.
If this feels too twisty: keep your bottom hand closer to your face and don’t force depth.
5) Low Lunge, Supported (3–5 breaths each side)
Step one foot forward between your hands, lower the back knee. Keep hands on blocks or thighs. Let the front of the back hip open.
Key cue: Think “length,” not “sink.” If you collapse into the low back, back out.
6) Sphinx Pose (5–8 breaths)
Lie on your stomach, prop up on forearms. Elbows under shoulders. Imagine your sternum gently gliding forward.
This is a gentle backbend. You’re not trying to create a dramatic arch. You’re creating a comfortable curve.
7) Child’s Pose, Wide-Knee Option (5 breaths)
Bring hips toward heels with knees wide and arms forward, or rest forehead on stacked hands.
If child’s pose bothers your knees or back: skip it and return to constructive rest.
8) Supine Twist, Soft (3–5 breaths each side)
On your back, knees bent. Let both knees fall to one side as your shoulders stay heavy.
Exit slowly. Twists can feel great—until you fling yourself out of them.
What you should feel afterward: more spaciousness, less stiffness, a sense that your spine is moving again.
Sequence 2: For Muscle Soreness After Work or Exercise
Honest question: Is my back tight—or simply tired?
When it helps: you’re sore in the low back muscles, hips, or glutes; you feel “worked” rather than injured
Goal: downshift tension, restore gentle range of motion, and reduce the urge to brace
Time: 10–15 minutes
Props: strap or towel (helpful), pillow
1) Legs on a Chair (2 minutes)
Lie on your back and place calves on a chair or couch so knees and hips are at 90 degrees.
Why it’s here: This position often reduces muscular guarding in the low back.
2) Knee-to-Chest, One Leg at a Time (5 breaths each side)
Hug one knee in gently. Keep the other foot on the floor or extend it if comfortable.
Keep the pelvis heavy. Don’t yank.
3) Figure-Four Stretch (5–8 breaths each side)
Cross one ankle over the opposite thigh. Hold behind the hamstring and draw legs toward you until you feel the glute/hip.
If your knee protests: keep the foot on the floor and make the shape smaller.
4) Hamstring Stretch With a Strap (5 breaths each side)
Loop a towel around the foot and extend the leg up, with a soft knee bend.
Important: Many backs hate aggressive hamstring stretching. A bent knee keeps the stretch honest instead of spinal.
5) Supported Bridge (6 slow reps + 3-breath hold)
Feet on the floor, lift hips gently. Option to place a block or pillow under the sacrum and rest there for three breaths.
Think: “lift and lengthen,” not “squeeze and crank.”
6) Child’s Pose With Support (5 breaths)
Put a pillow under your chest or forehead. Let the shape be restorative.
7) Seated Forward Fold… Only If It Feels Good (5 breaths)
Sit on a folded blanket and hinge forward slightly with a long spine. Stop early. This is not a deep fold day.
If forward folds worsen your back: skip them. You’re not failing. You’re listening.
What you should feel afterward: less gripping, a gentle “exhale” in the low back, and easier movement when you stand.
Sequence 3: For Pain That Travels
Honest question: Is the pain staying in my back—or moving down my leg?
When it helps: you have back pain with leg symptoms (sometimes called sciatica), or nerve-like sensations
Goal: choose positions that reduce irritation and help you move without provoking symptoms
Time: 8–12 minutes
Props: folded blanket, wall (optional)
A careful word here: radiating pain, numbness, tingling, or weakness deserves attention. Many cases improve with time, but some need evaluation—especially if symptoms are worsening or severe.
This sequence avoids deep forward folds and aggressive twists, which can aggravate some people. It stays simple and respectful.
1) Check-In: The 10-Second Scan
Standing or lying down, notice: Where is the sensation strongest? Back only? Back and glute? Down the leg?
Your goal during this sequence is not heroism. It’s centralization—moving sensation away from the leg and closer to the back, or reducing intensity.
2) Prone Rest (1 minute)
Lie on your stomach with forehead on hands. If that’s uncomfortable, place a thin pillow under the hips.
3) Sphinx Pose (5 breaths)
Come to forearms again. Keep glutes soft. Let the pose be mild.
If symptoms worsen down the leg: back out immediately and return to prone rest. Some bodies prefer flexion, some prefer extension—this is why the honest question matters.
4) Side-Lying “Open Book” (4 breaths each side)
Lie on your side, knees bent, arms extended in front. Open the top arm across your body into a gentle twist, like turning a page.
Keep knees together. This is a ribcage twist, not a crank in the low back.
5) Supported Standing Hinge (6 slow reps)
Stand facing a wall, hands on wall. Hinge hips back slightly, keep spine long, then return. Think of it as practice for bending without collapsing into the low back.
Why it helps: it reinforces safer mechanics when your back is sensitive.
6) Gentle Glute Stretch (Figure-Four at Wall, 5 breaths each side)
Lie on your back near a wall, place one foot on the wall, cross ankle over knee. Adjust distance until you feel a mild stretch.
If this aggravates leg symptoms: skip it and return to legs-on-chair.
7) Legs on Chair (1–2 minutes)
Finish where your nervous system often feels safest.
What you should feel afterward: calmer symptoms, less fear of movement, and ideally less “traveling” sensation.
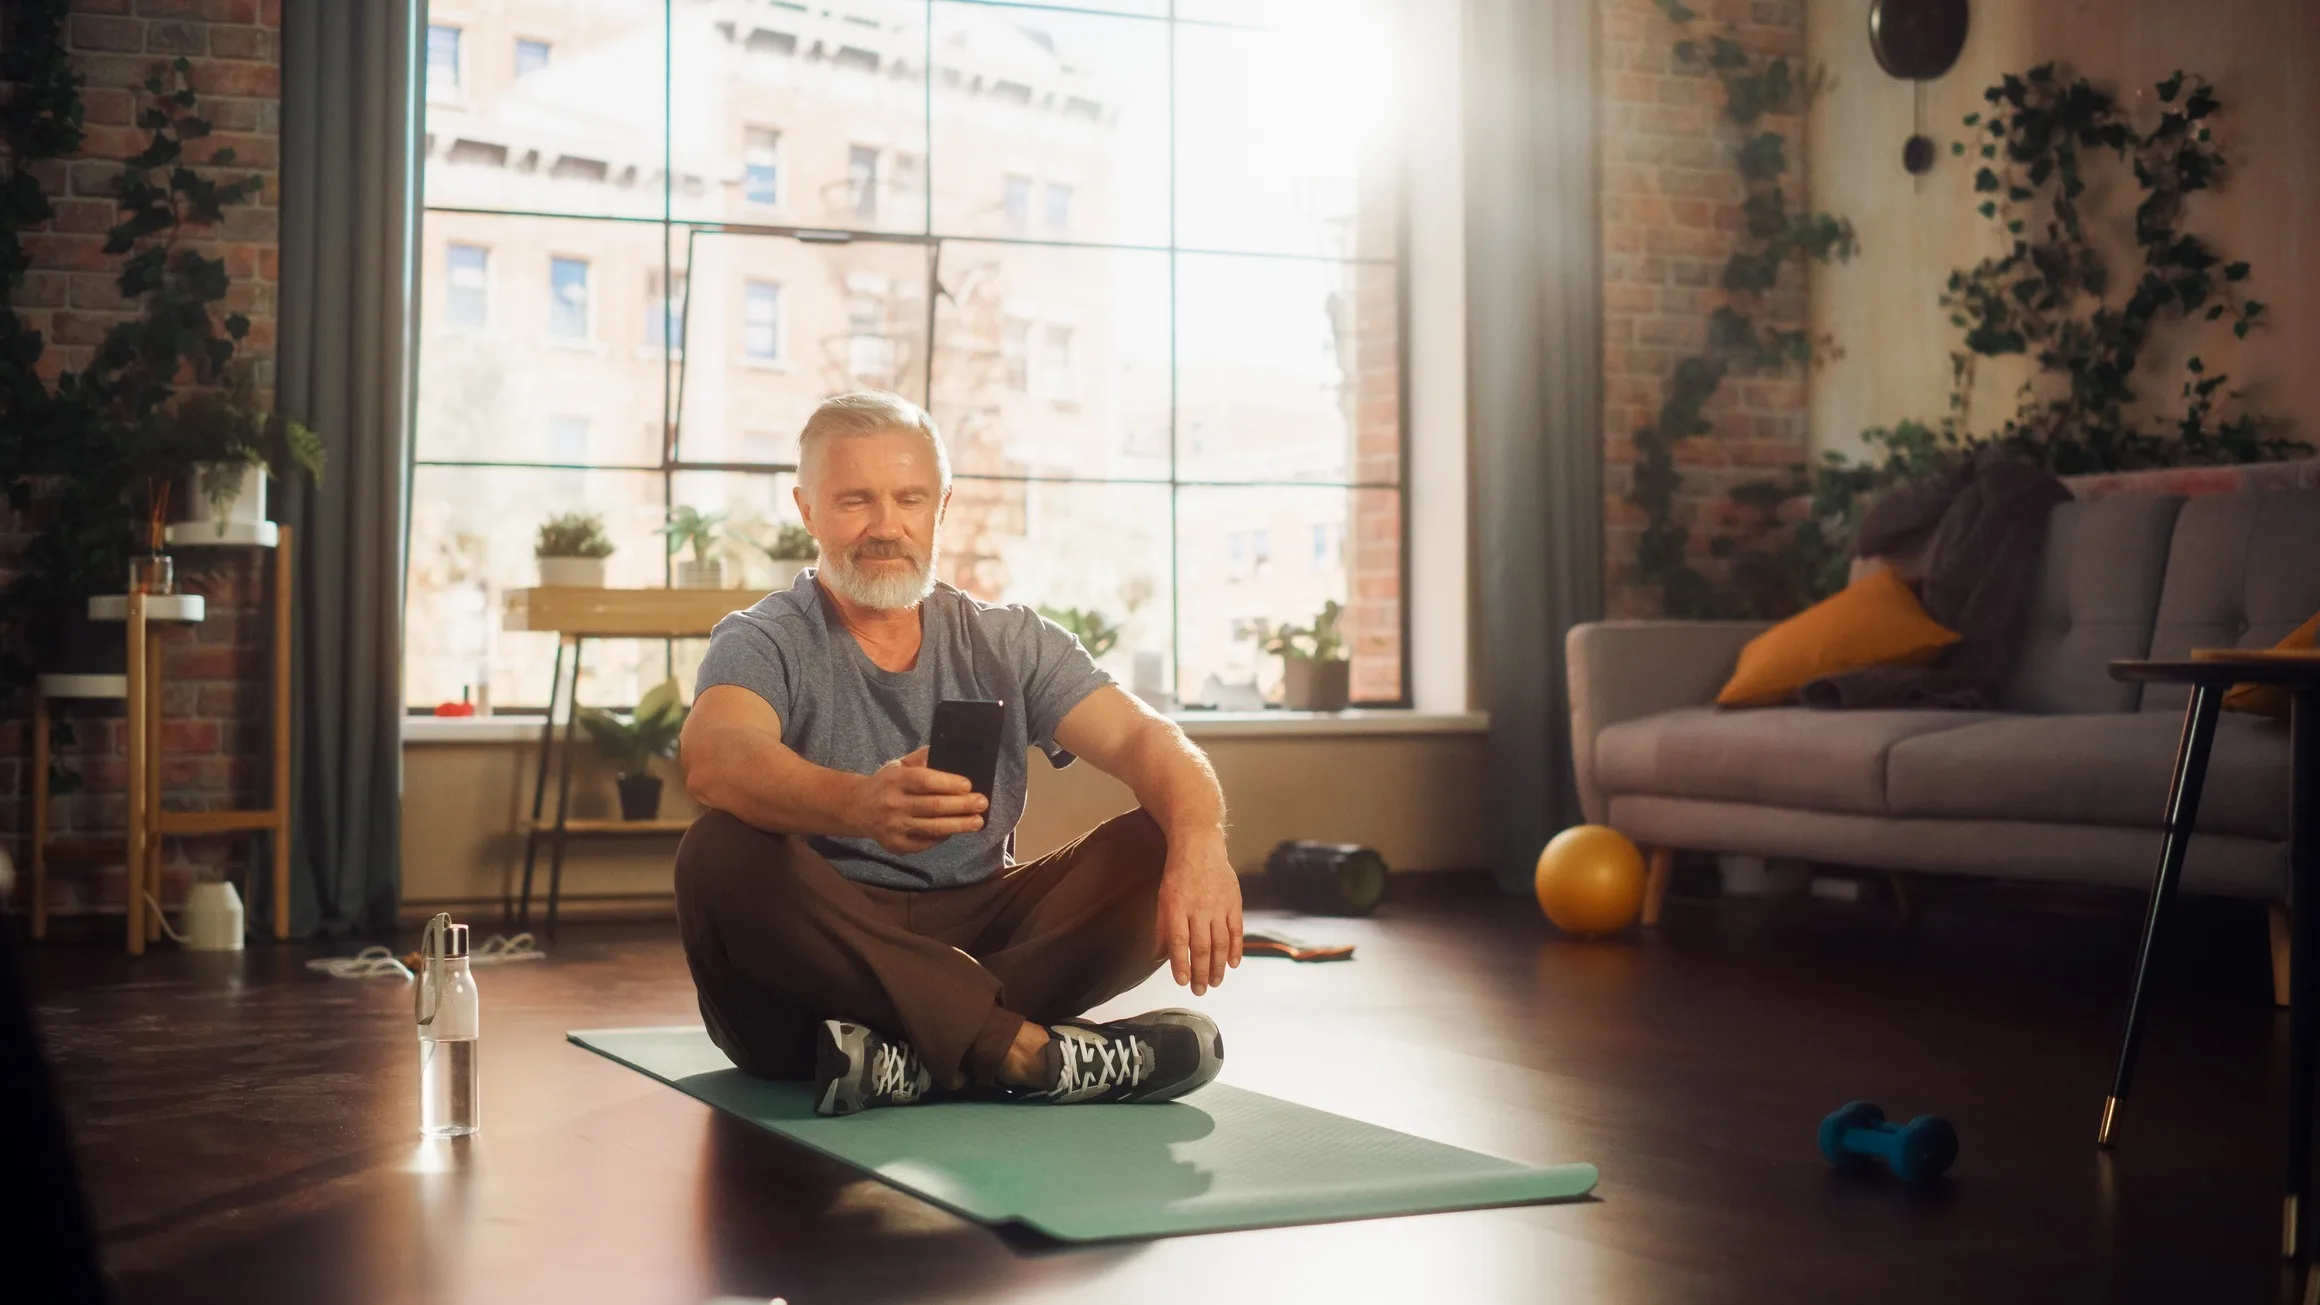
Sequence 4: For Stress-Loaded Back Pain
Honest question: Am I holding my breath?
When it helps: pain flares with stress, long days, poor sleep; your body feels braced and vigilant
Goal: downshift the nervous system, soften guarding, restore easy breathing
Time: 10–15 minutes
Props: pillow or folded blanket
This is not “all in your head.” Pain is physical. But pain is also influenced by the nervous system’s threat response. When you’re stressed, your body grips. When your body grips, your back often pays.
1) Seated Breathing (2 minutes)
Sit comfortably. Inhale through the nose for 4 counts, exhale for 6.
Don’t force it. Let the exhale be longer, like a slow release.
2) Shoulder Rolls + Neck “Yes/No” (1 minute)
Roll shoulders up/back/down. Then nod gently and turn head side to side—small range.
3) Cat–Cow With Long Exhale (6 cycles)
Make the exhale the “move.” Let the spine follow the breath.
4) Puppy Pose (3–5 breaths)
From hands and knees, walk hands forward and lower chest toward the floor, hips over knees.
If shoulders are cranky: rest forehead on a block and keep it small.
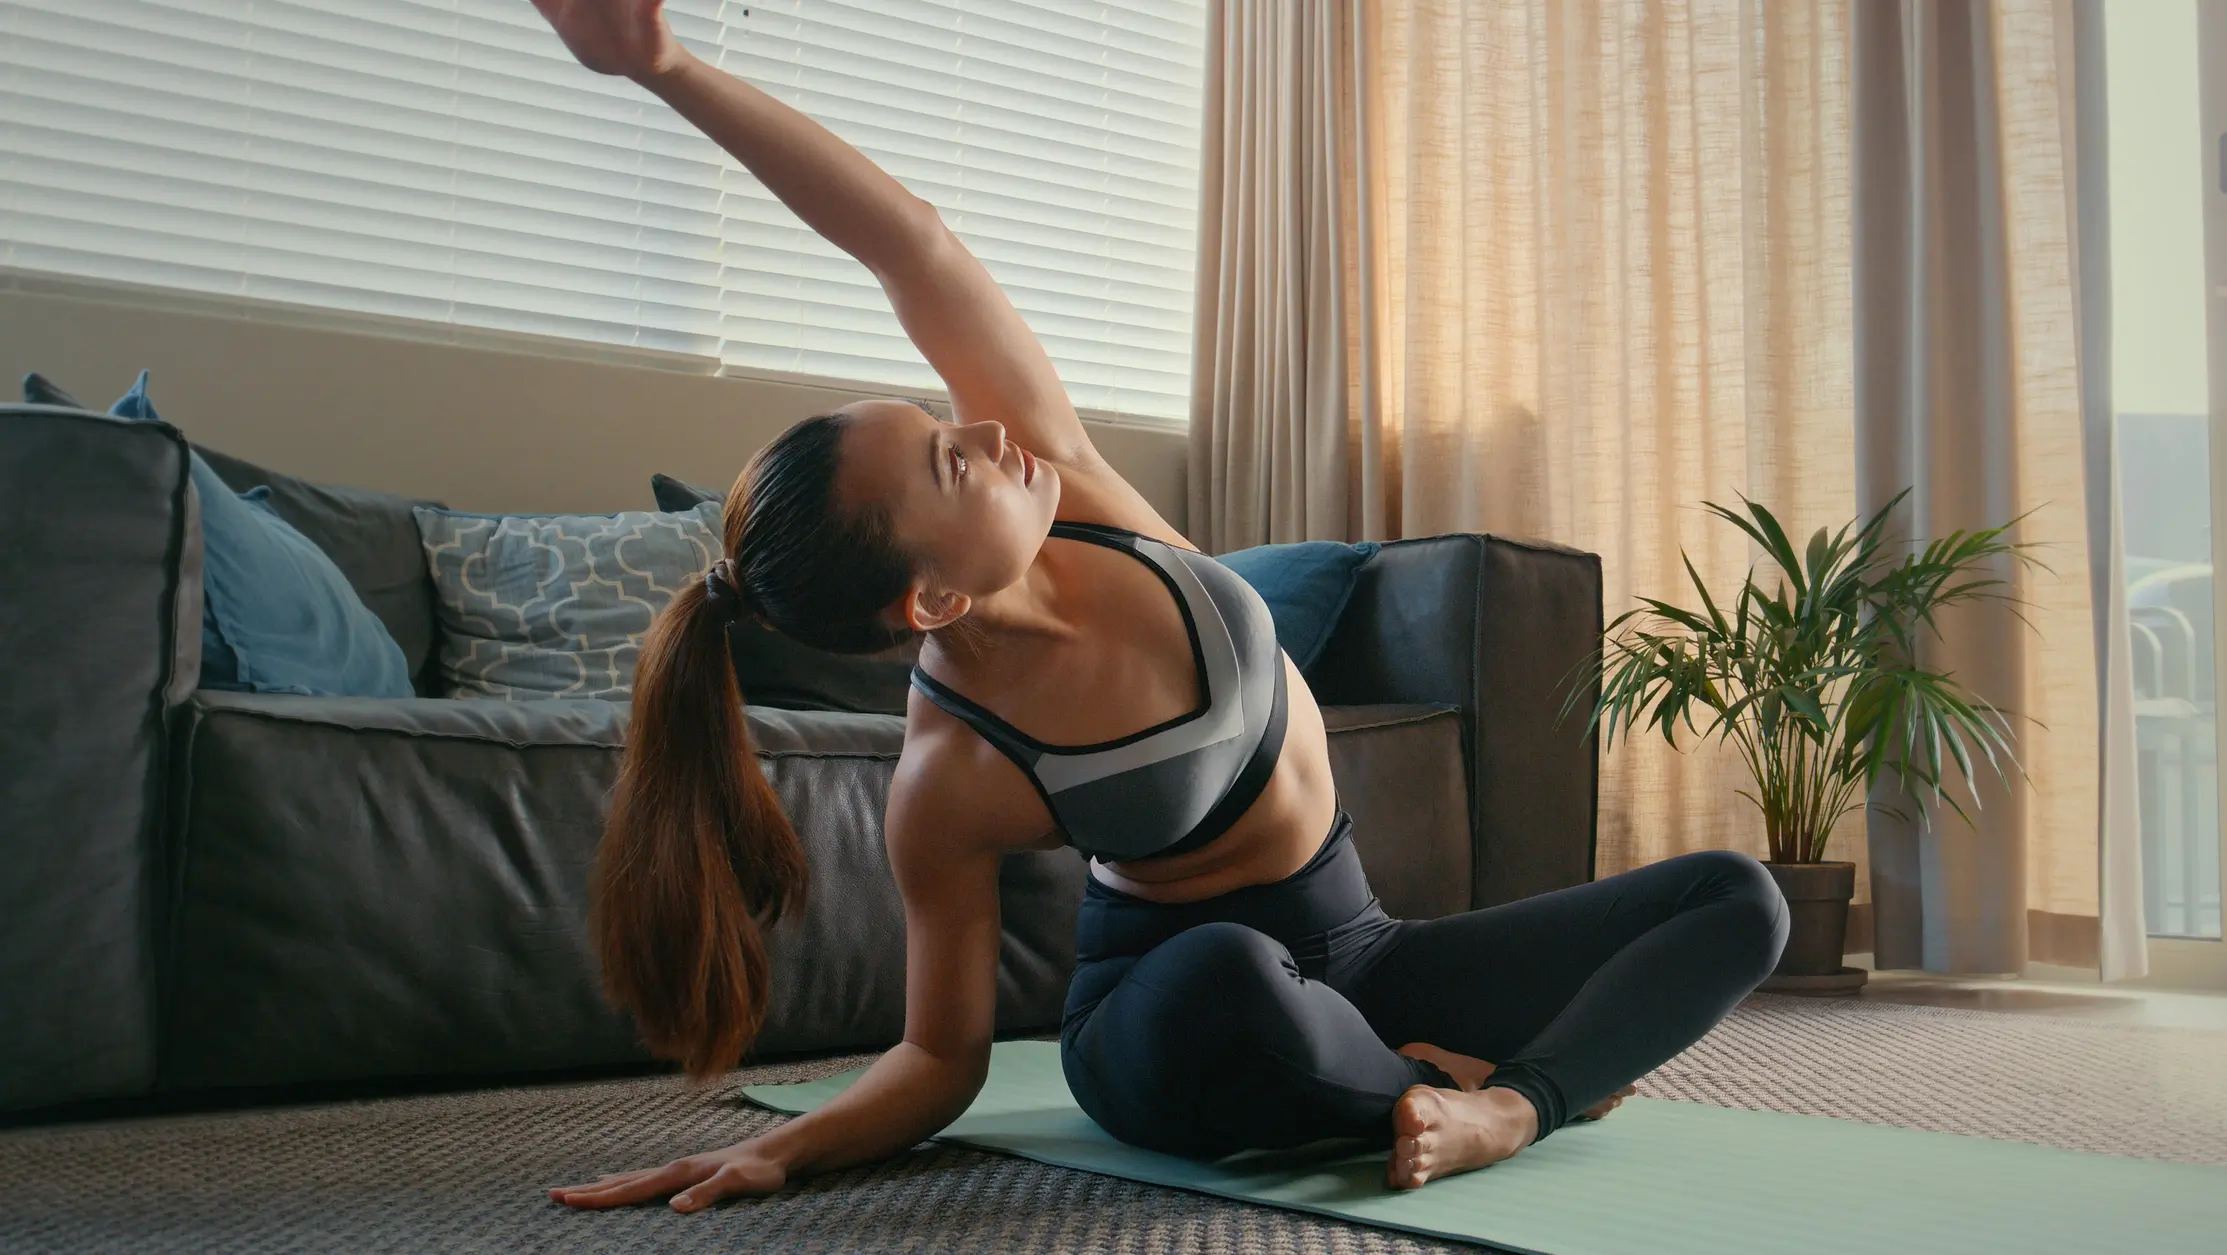
5) Low Lunge With Side Bend (3 breaths each side)
From a supported lunge, reach the arm overhead and gently side bend away from the back leg. Breathe into the ribs.
6) Supported Child’s Pose (8 breaths)
Pillow under chest, forehead on hands. Let your back widen.
7) Supine Twist (3 breaths each side)
Keep knees bent and the twist mild.
8) Final Rest (2 minutes)
Back on the floor, one hand on belly. You’re done when you feel a little more spacious inside your skin.
What you should feel afterward: not necessarily “fixed,” but less defended—like your back is no longer trying to protect you from your own day.
Sequence 5: For Chronic Low Back Pain
Honest question: Do I need more space—or more support?
When it helps: recurring, non-specific low back pain; the kind that improves with steady habits more than dramatic interventions
Goal: combine gentle mobility with stabilizing strength so your back feels trustworthy again
Time: 12–18 minutes
Props: optional block, chair
Clinical guidelines have recommended yoga among first-line, non-drug options for chronic low back pain, though evidence quality varies and results are typically modest. The best results usually come from practices that are regular, scaled, and skillful—not intense.
This sequence is deliberately balanced: a little movement, a little support.
1) Constructive Rest + Pelvic Tilts (1 minute + 6 reps)
Same as in Sequence 1. Start by reducing bracing.
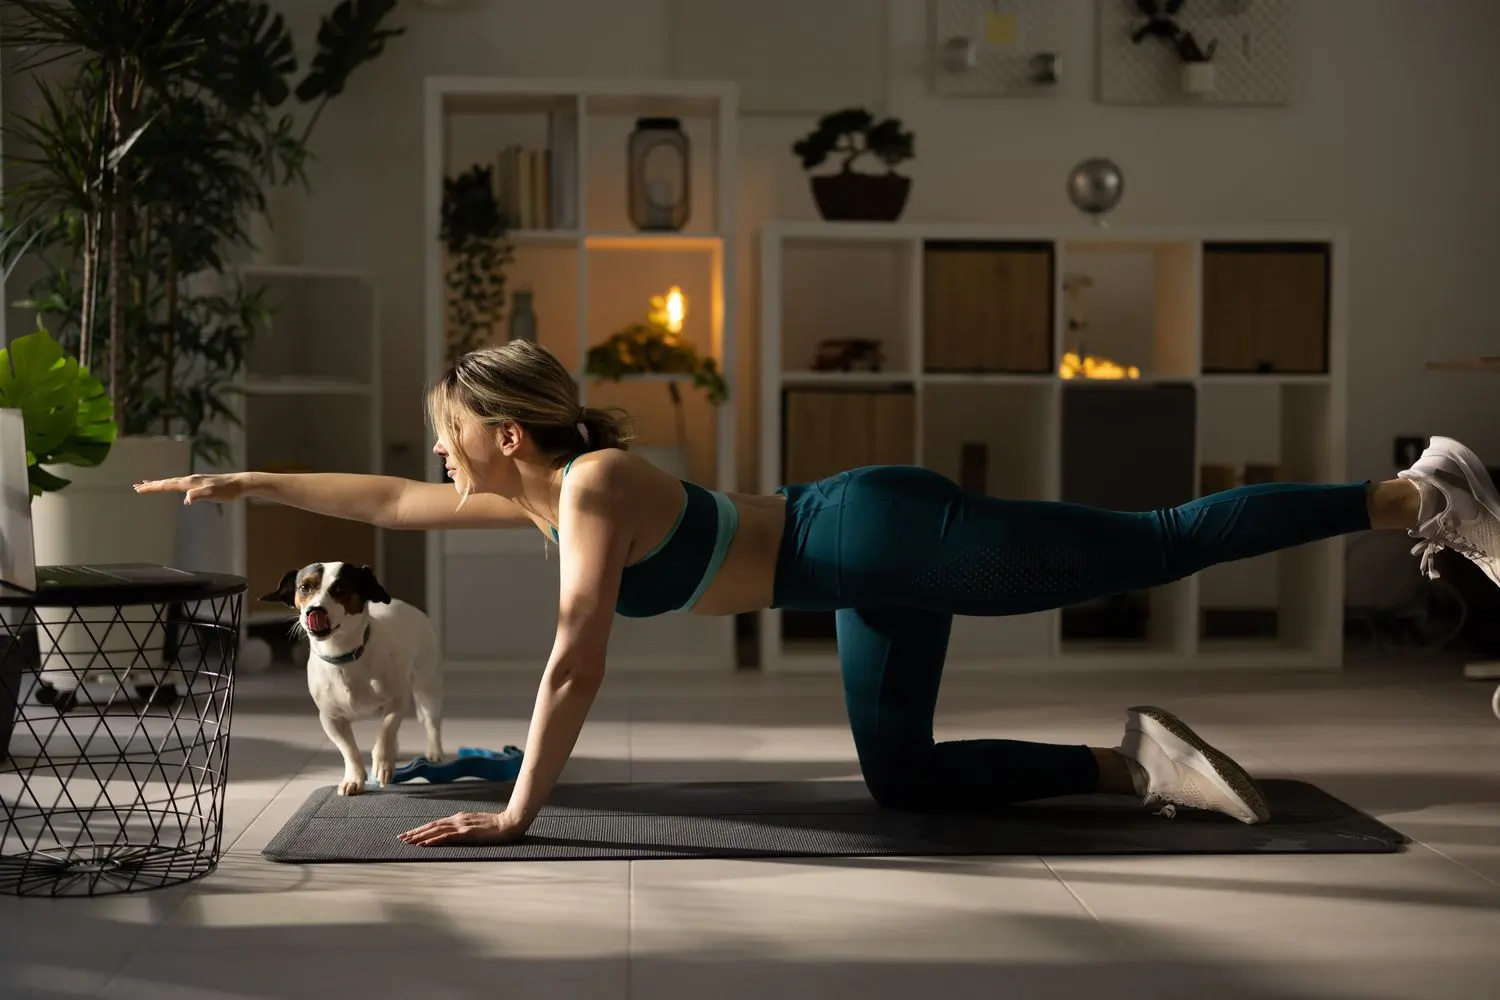
2) Bird Dog (6 reps each side)
From hands and knees, extend opposite arm and leg. Keep hips level.
Make it easier: just extend the leg, or just the arm.
3) Glute Bridge (10 reps)
Pause 1 second at the top. Feel glutes, not low back.
4) Side Plank (20–30 seconds each side)
Knees down is fine. The point is lateral support—often missing in back pain routines.
5) Chair Pose, Short Hold (2 rounds of 3 breaths)
Stand, sit hips back as if to a chair, reach arms forward. Keep ribs stacked over pelvis.
If knees complain: reduce depth or skip.
6) Warrior II (3 breaths each side)
A steady stance that builds endurance in legs and hips—quiet support for the spine.
7) Triangle, Modified (3 breaths each side)
Shorten stance. Place hand on a block or your shin (not the floor). Keep length in both sides of waist.
No collapsing. The shape should feel spacious, not strained.
8) Supine Twist + Rest (2–3 breaths each side, then 1 minute rest)
Finish with softness, not more work.
What you should feel afterward: a mix of relief and competence—like your back isn’t something fragile you have to tiptoe around.
The simplest way to make these work
Don’t treat these sequences like a one-time rescue.
Treat them like a menu you return to.
- Stiff after sitting? Sequence 1.
- Sore and tired? Sequence 2.
- Symptoms traveling? Sequence 3 (and consider an evaluation if it persists or worsens).
- Stress-loaded tension? Sequence 4.
- Recurring pain? Sequence 5, 3–4 times per week.
And remember the real starting point is not the perfect pose. It’s that honest question.
What is my back asking for today—more movement, or more protection?
If you can answer that with even a little sincerity, you’ll do something many people never learn to do: you’ll stop fighting your body and start collaborating with it.
That collaboration—gentle, consistent, unglamorous—is where most lasting change actually lives.
Important notice: this content is educational and does not replace an individual evaluation. If you have a history of eating disorders, diabetes, pregnancy, or a medical condition, consult a healthcare professional before making dietary or exercise changes.


 Sign In