

There’s a persistent myth in fitness circles that the “core” is little more than a six-pack aesthetic — an Instagram metric to be polished like a prop. In truth, the core is the quiet engine room of the body: the network of muscles that stabilizes the spine, transmits force between limbs, and allows us to stand, bend, reach and breathe with efficiency. Strengthening it doesn’t require a gym full of machines or an hour of elaborate choreography. It requires a few well-chosen movements, attention to technique, and a plan that respects recovery and everyday life.
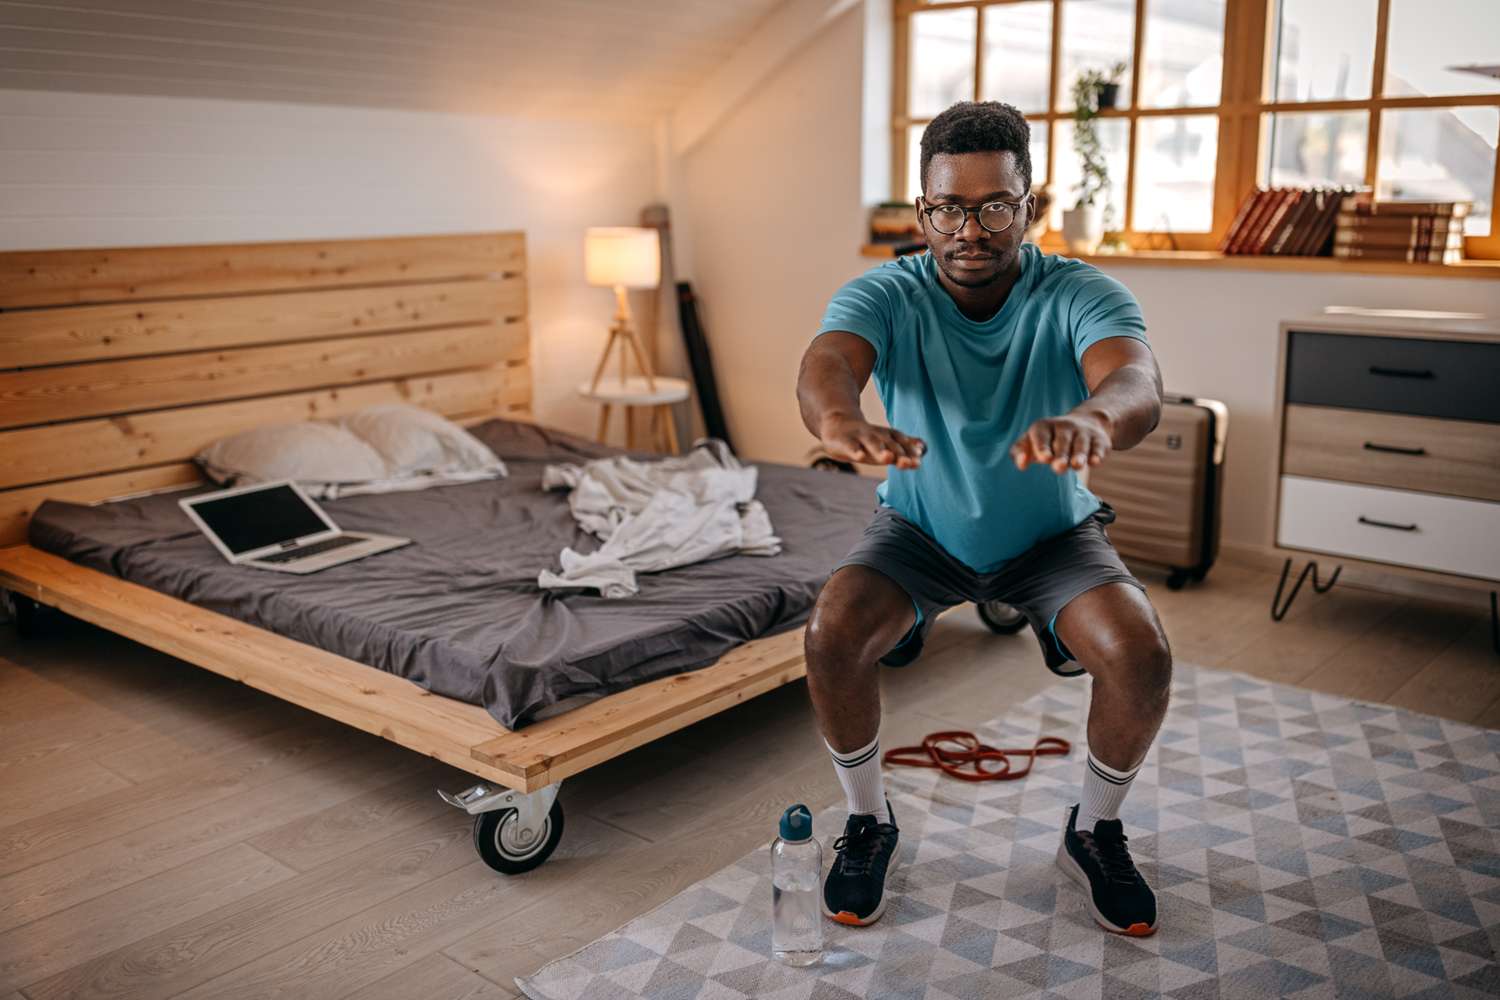
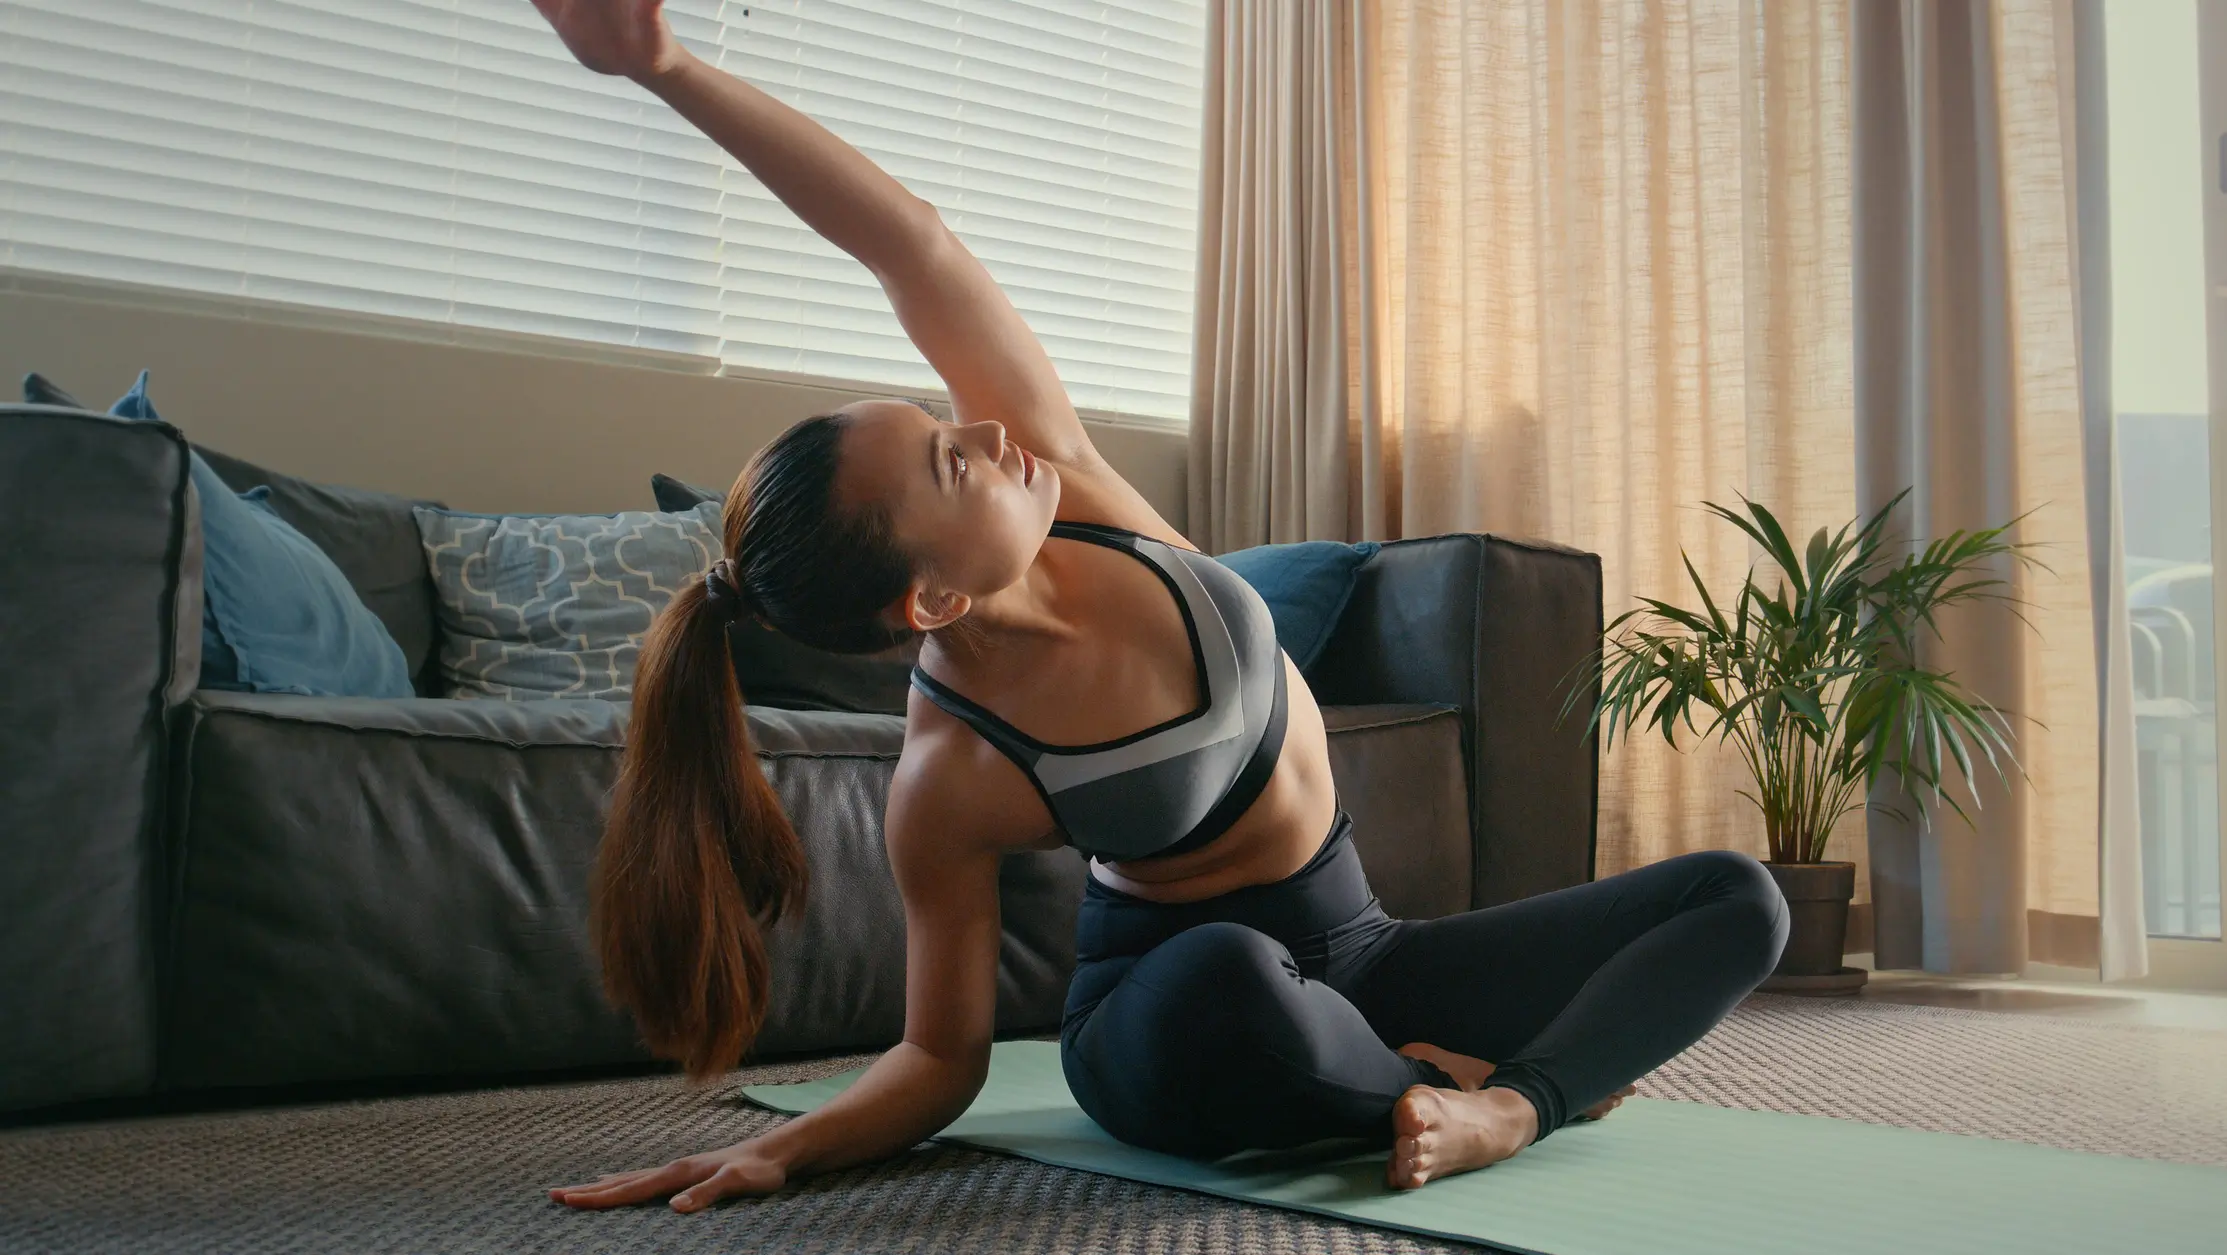
Below, you’ll find five essential, evidence-backed exercises you can do at home with no equipment or with one small prop (a mat or pillow). For each exercise I’ll explain what it trains, how to perform it correctly, common mistakes to avoid, progression options, and how to fit it into a weekly routine. Read this as both instruction manual and invitation: these are practical tools you can use tomorrow, and build on for months to come.
Why the core matters (and why simple beats flashy)
When your core is strong, your movement economy improves: lifting the groceries, playing with a child, or running for a bus all become less taxing. A resilient core protects the lower back, enhances balance, and provides a stable platform for strength work elsewhere. Yet the fitness industry’s fixation on novelty — dozens of niche machines, vibrating platforms, or extreme twisting routines — often distracts from what actually works.
The five exercises below focus on stability, anti-extension, anti-rotation, and controlled mobility. They target the deep stabilizers (like the transverse abdominis), the obliques, the rectus abdominis, and the posterior chain (glutes and erector spinae), because core health depends on balance among these groups, not on any single “ab muscle.”
1. The Plank (Front Plank) — Foundation of Stability
What it trains: The front plank is a static hold that recruits the rectus abdominis, transverse abdominis, obliques, shoulders and glutes. It stresses the body’s ability to resist extension and maintain a neutral spine.
How to do it:
- Start face down on a mat. Place your forearms on the floor, elbows under shoulders, hands relaxed or clasped.
- Tuck toes and lift hips so your body forms a straight line from head to heels.
- Draw your ribs down toward your pelvis (avoid letting the ribs flare), engage the glutes, and breathe smoothly.
- Hold for a set duration — start with 20–30 seconds and progress.
Common mistakes:
- Hips too high (a “pike” position) or too low (sagging into lumbar extension).
- Holding breath; this reduces intra-abdominal control and quickly increases fatigue.
- Neck hyperextension — keep the gaze neutral, not craned.
Progressions:
- Increase hold time gradually: 30 → 45 → 60+ seconds.
- Move to a high plank (hands on the floor) to load shoulders more.
- Add limb variations (lifting one leg or one arm) when regular holds are easy.
Why it’s valuable: The plank teaches you to create a stable torso under load, which transfers to safer performance in daily tasks and heavier lifts.
2. The Side Plank — Anti-Lateral Flexion and Oblique Strength
What it trains: The side plank targets the obliques and the deep lateral stabilizers. It helps the body resist lateral collapse — essential for walking, carrying, and sports that demand single-side stability.
How to do it:
- Lie on one side, forearm on the mat with elbow beneath your shoulder, legs stacked.
- Lift hips so your body forms a straight line from head to ankles.
- Reach the top arm upward or rest it along your side. Keep shoulders stacked and hips lifted.
- Hold for 20–45 seconds per side, adjusting for your level.
Common mistakes:
- Letting the hips drop forward or backward.
- Rotating the torso — keep ribs stacked.
- Overloading the neck; keep the head in a neutral line.
Progressions:
- Increase time per side.
- Stack the top leg forward and place the top foot in front for more challenge.
- Add dynamic hip dips (slowly lower and lift the hips).
Why it’s valuable: Strong lateral stabilizers reduce compensatory movement and protect the spine when you carry weight or twist.
3. Dead Bug — Anti-Extension with Controlled Limb Movement
What it trains: The dead bug is a low-risk, high-reward exercise that reinforces spine control while the arms and legs move. It strengthens the deep abdominal system without compressing the spine.
How to do it:
- Lie on your back with arms extended toward the ceiling and knees bent at 90° (tabletop).
- Press the lower back gently into the floor — maintain this contact throughout.
- Slowly lower the opposite arm and leg towards the floor (arm behind your head, leg toward straight) while keeping the lower back pressed down.
- Return to center and repeat with the other side. Aim for controlled sets of 8–12 reps per side.
Common mistakes:
- Allowing the lower back to arch off the floor during the movement.
- Rushing — this is about control, not speed.
- Using too large a range of motion early on; lower only as far as you can while maintaining contact.
Progressions:
- Extend the leg farther or lower it closer to the floor.
- Add a small weight in the hand for the arm if you need more load.
- Move to single-leg bridges or anti-rotation moves as you advance.
Why it’s valuable: The dead bug teaches co-activation of core and limbs and is excellent for people with back sensitivity because it emphasizes spinal neutrality.
4. Glute Bridge (or Hip Thrust) — Posterior Chain and Anti-Extension
What it trains: Though often thought of as a glute exercise, bridges engage the hamstrings, glutes, and erector spinae while demanding core stability to prevent lumbar hyperextension.
How to do it:
- Lie on your back with knees bent and feet flat, hip-width apart.
- Brace your core, squeeze the glutes, and lift your hips until your body forms a line from shoulders to knees.
- Pause briefly at the top, keeping the ribs down and pelvis neutral, then lower with control.
- Perform 10–15 reps for 2–4 sets depending on your program.
Common mistakes:
- Overarching the lower back at the top — the hips should lead, not the lumbar spine.
- Pushing from the toes; drive through the whole foot, emphasizing the heel.
- Letting knees collapse inward; keep them aligned over toes.
Progressions:
- Add a pause or pulse at the top.
- Place a single leg up in the air for a unilateral bridge.
- Move to a higher demand hip thrust with a bench and (if available) a weight across hips.
Why it’s valuable: Strong glutes stabilize the pelvis and reduce compensatory lumbar load — a cornerstone of healthier core function.
5. Bird Dog — Contralateral Control and Coordination
What it trains: The bird dog is a classic for spinal stabilization and coordination. By extending opposite limbs, you practice transferring force through a stable trunk.
How to do it:
- Start on hands and knees in a neutral spine position, shoulders above wrists and hips above knees.
- Brace the core and slowly extend the opposite arm forward and leg backward until both are roughly parallel to the floor.
- Keep hips level and avoid rotating. Hold for a breath or two, then return and switch sides.
- Aim for 8–12 reps per side.
Common mistakes:
- Overextending the back — the intention is neutrality with control.
- Dropping the ribcage or letting the hips twist.
- Moving too quickly — this is coordination training.
Progressions:
- Pause and hold longer at full extension.
- Perform with the toes and hand hovering slightly off the floor to increase instability.
- Add a targeted pulse or band resistance as you improve.
Why it’s valuable: Bird dog builds cross-body stability essential for efficient walking, running and lifting.
Putting it all together: a simple home core routine
You don’t need to do every exercise every day. Here’s a practical twice-weekly routine that balances workload and recovery. It’s short enough to keep consistent but substantive enough to produce results.
Warm-up (5 minutes):
- March in place or light mobility: hip circles, cat-cow, gentle thoracic rotations.
Routine (20–25 minutes):
- Plank: 3 × 30–60 seconds (rest 45–60 sec)
- Side Plank: 2 × 30–45 sec per side (rest 30–45 sec)
- Dead Bug: 3 × 8–10 reps per side (rest 30–45 sec)
- Glute Bridge: 3 × 10–15 reps (rest 45–60 sec)
- Bird Dog: 3 × 8–10 reps per side (rest 30–45 sec)
Cool down:
- Gentle stretching: hamstrings, hip flexors, thoracic rotation.
- Focused breathing for two minutes — inhale through the nose, exhale slowly to engage the diaphragm.
Adjust volumes based on your fitness level. If you’re new to structured training, start at the lower end of rep ranges and shorter hold times; add five-minute increments as you adapt.
Programming tips and progression across weeks
Consistency matters more than intensity. Start with two core sessions per week for four to six weeks. After that, consider:
- Increasing plank and side plank durations by 10–20% every 1–2 weeks.
- Adding one additional set to compound movements (bridges, bird dogs).
- Introducing harder variations (single-leg bridges, plank with leg lift) as baseline movements become easy.
If you also lift weights or run, place your core work after your main strength session or on a separate day to avoid compromising technique when you’re freshest for compound lifts. Core training needn’t be exhaustive; even 10–15 focused minutes integrated into your routine three times a week yields meaningful change.
Common questions — straightforward answers
Q: “Will core work reduce belly fat?”
A: Spot reduction is a myth. Core training strengthens and shapes the midsection, but fat loss requires overall calorie management and full-body activity.
Q: “How long until I feel a difference?”
A: Many notice greater stability and less lower-back fatigue within a couple of weeks. Visible changes in muscle tone take longer — months of consistent training and proper nutrition.
Q: “Should I do core work every day?”
A: Daily light engagement (like bracing practice or short holds) is fine, but intense core sessions benefit from 48 hours of recovery. Two to four focused sessions weekly are effective.
A word about breathing and tension
Core function is intimately tied to breathing mechanics. Bracing is not about rigidly holding the breath; it’s about creating controlled intra-abdominal pressure. Breathe rhythmically: inhale to fill the belly and ribs, then exhale slightly as you engage. This pattern stabilizes the spine and supplies oxygen to working muscles. Practice this in each rep — it’s as crucial as hand placement or hip alignment.
Final thought: build a core that serves your life
Training the core is not an aesthetic afterthought; it’s a practical investment in daily capability. The five exercises above — plank, side plank, dead bug, glute bridge, and bird dog — offer a compact, scientifically sensible approach you can do at home with no equipment. They teach you to produce and resist forces, stabilize the spine, coordinate limbs, and support functional strength.
Start small, be consistent, and favor quality over quantity. Over weeks and months those small, steady choices will translate into real change: reduced pain, improved balance, better posture, and the freedom to move with confidence in whatever you do next.
Important notice: this content is educational and does not replace an individual evaluation. If you have a history of eating disorders, diabetes, pregnancy, or a medical condition, consult a healthcare professional before making dietary or exercise changes.


 Sign In